iD Tech Camp
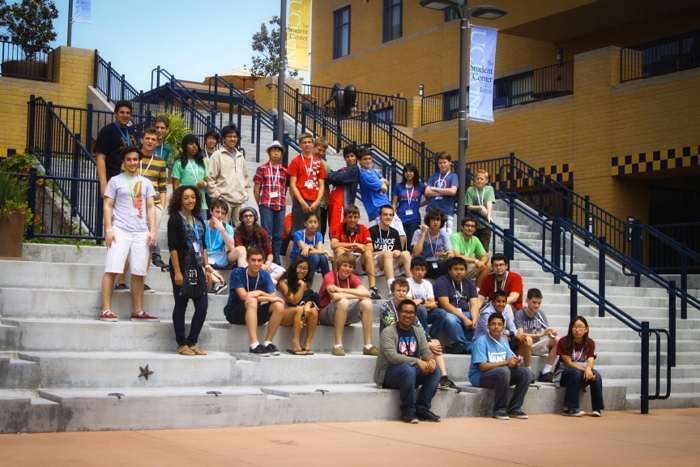
iD Tech is an independent, family-owned company recognized as the best technology summer camp and one of the best overall summer camps in the nation. It has an unparalleled lineup of 60+ summer camp programs at universities including Stanford University, Harvard, Princeton, Yale, UCLA, Northwestern, Columbia, MIT, Carnegie Mellon, NYU, Brown University. To know more about the company please visit their website.


CRAMP NESY
Reuben Bangi
Ast, Rachel
Mariana Perret
Prata, di Miles
Nguyen, Julia
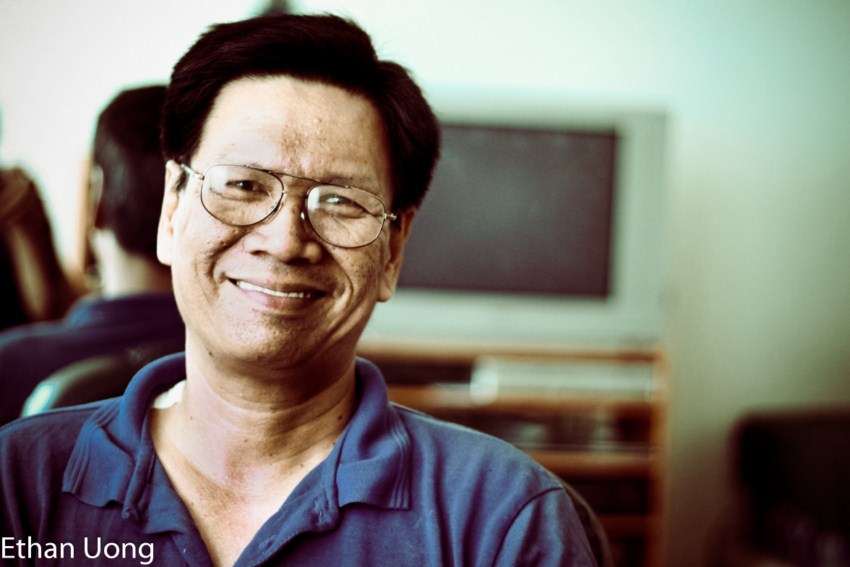
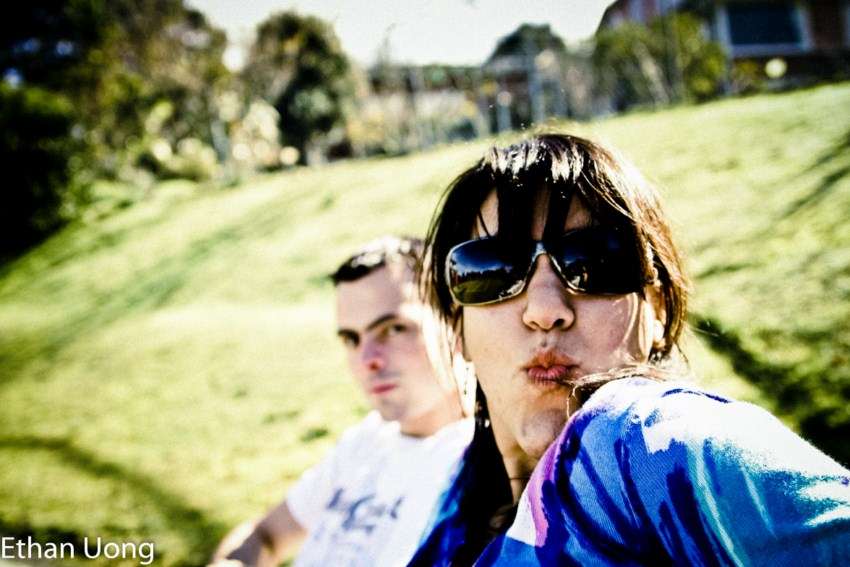
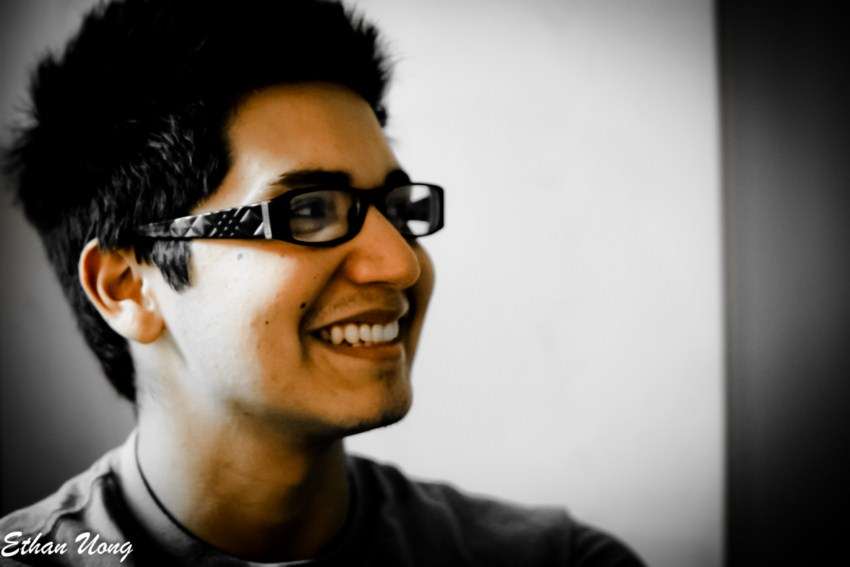
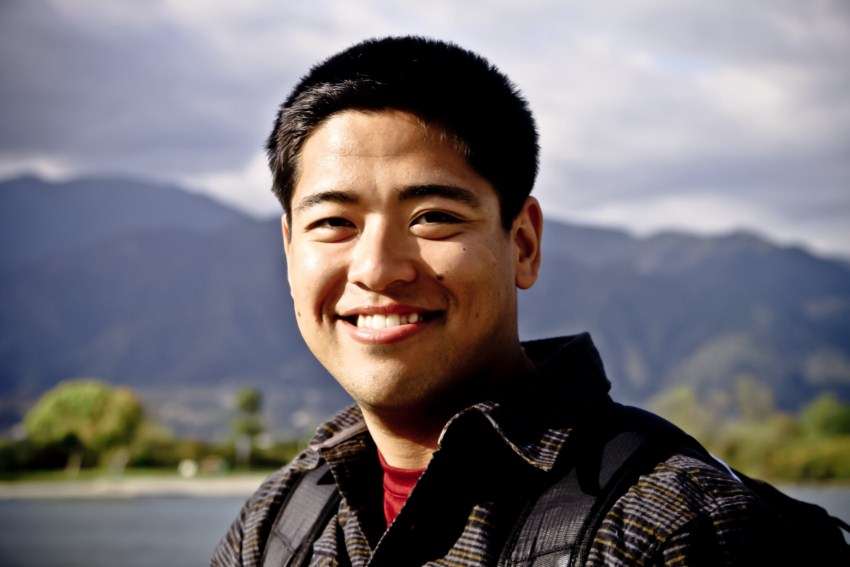
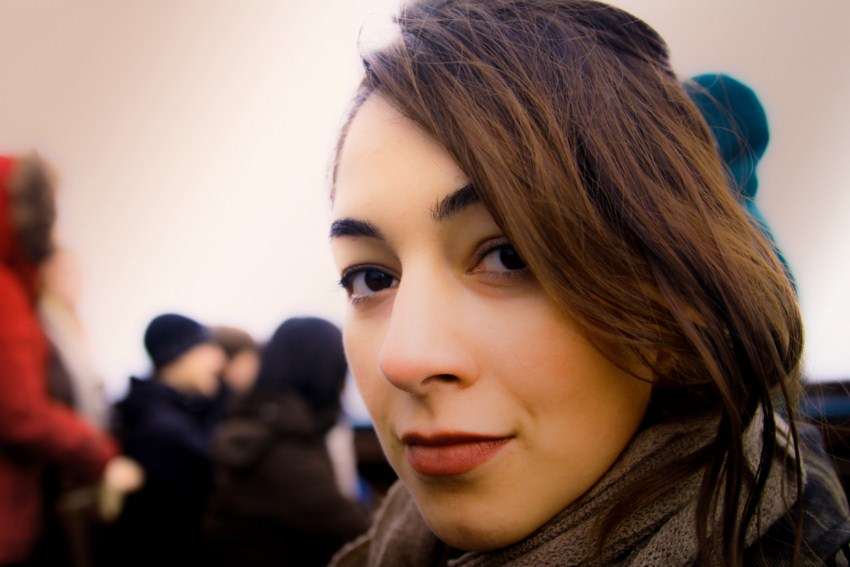
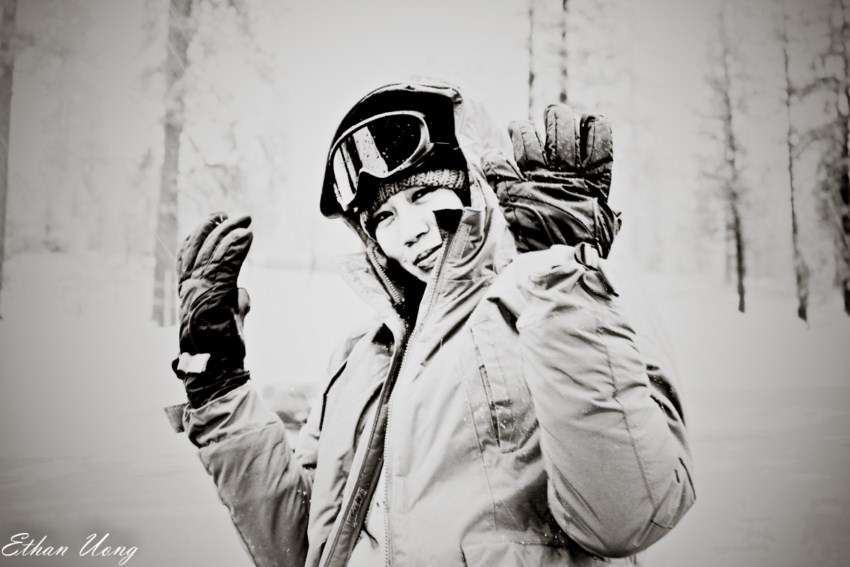
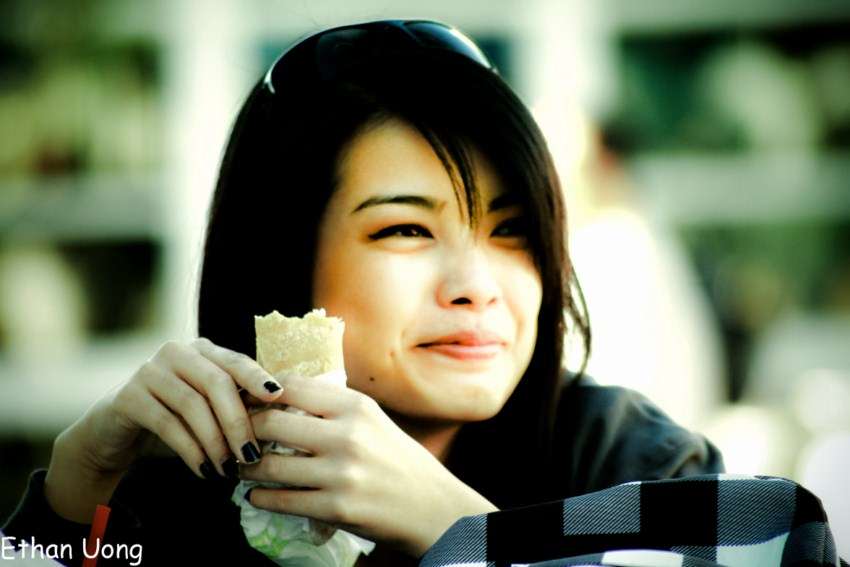
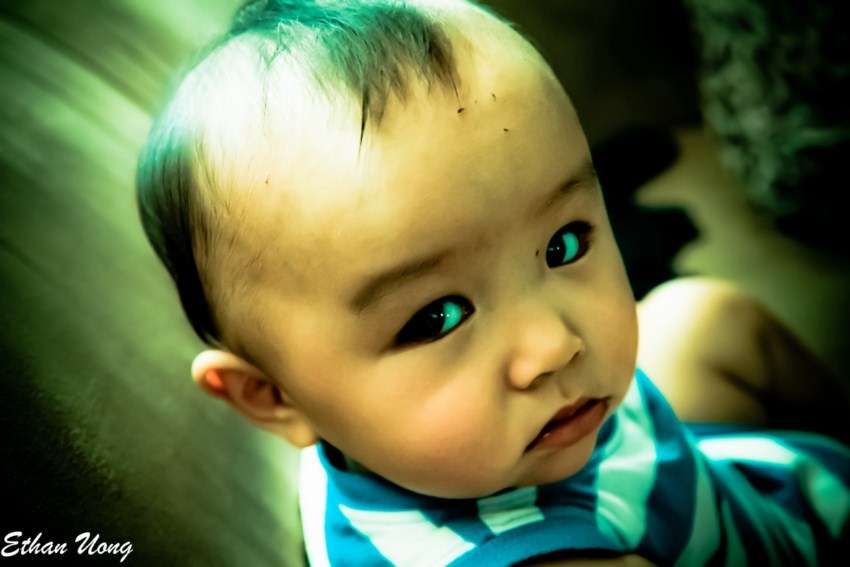
Ethan Uong
Scheele, Jackson
Yum, Emily
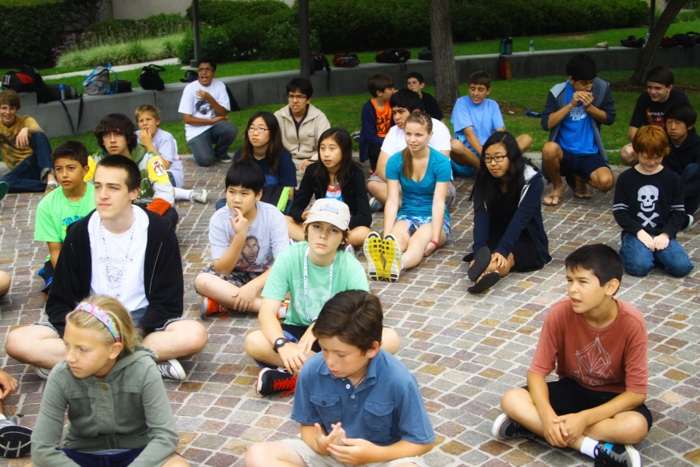
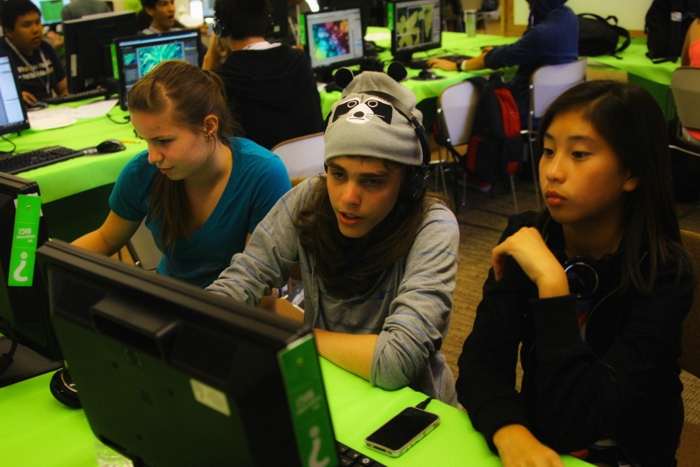
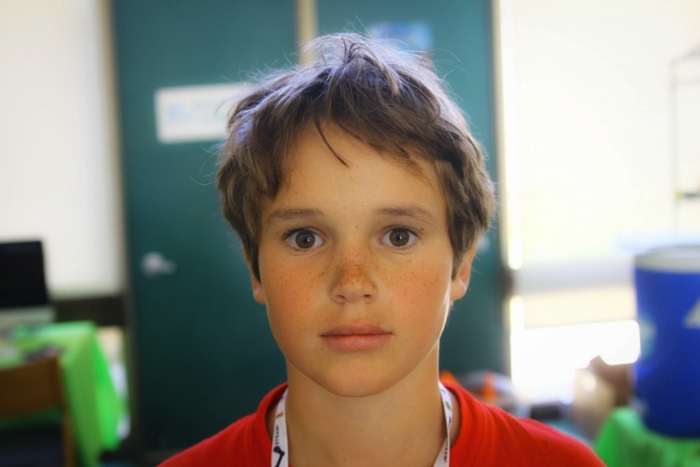
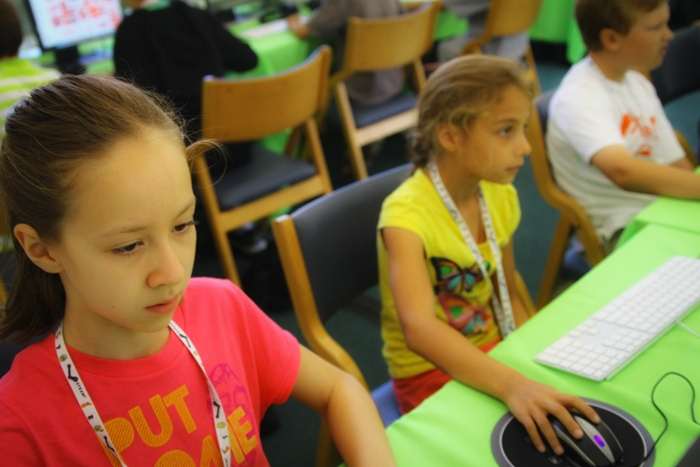
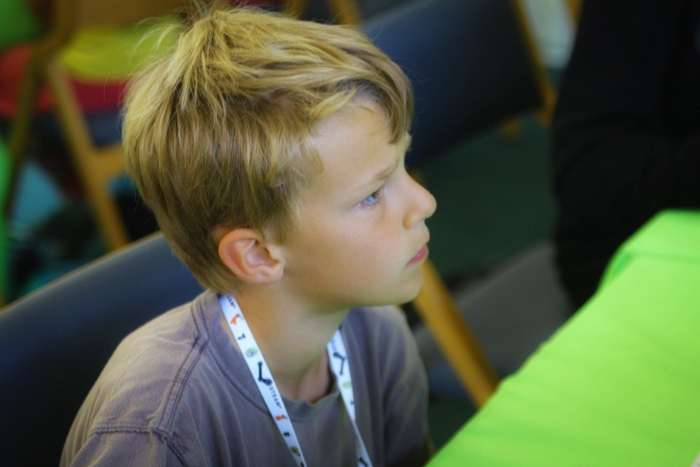
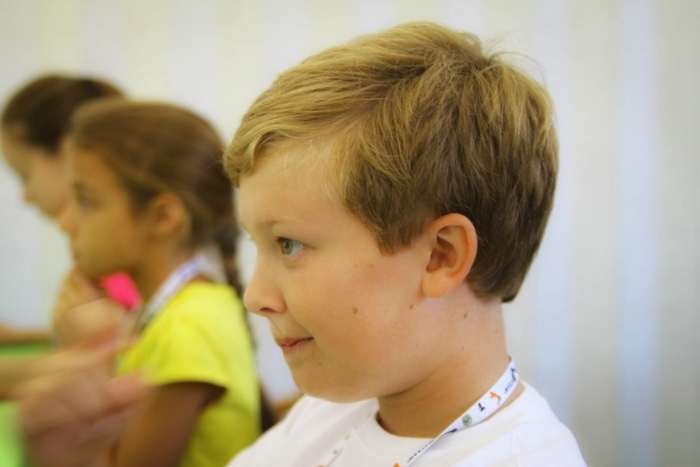
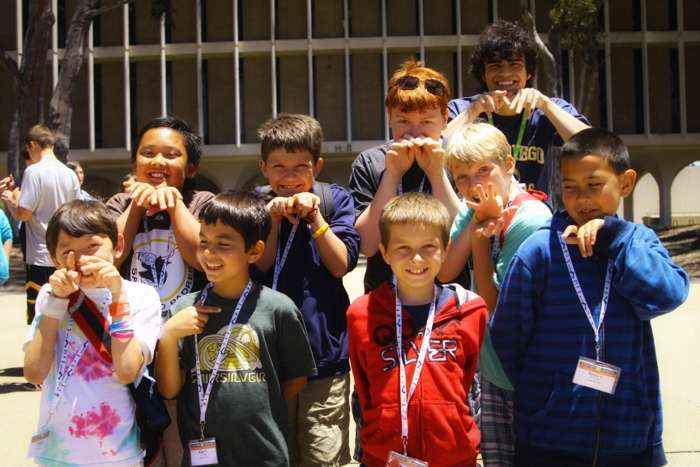
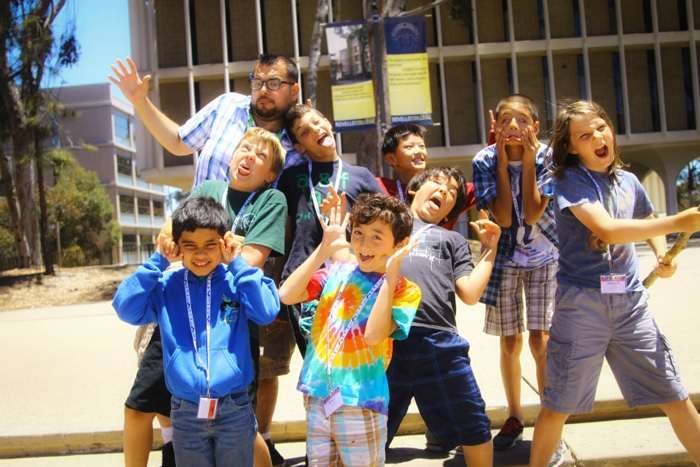
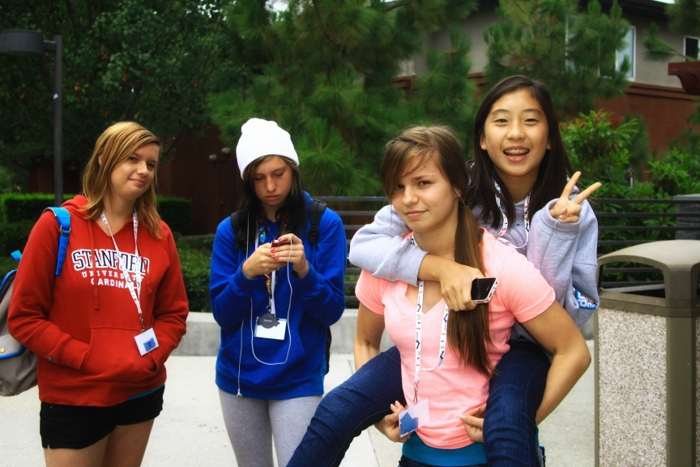
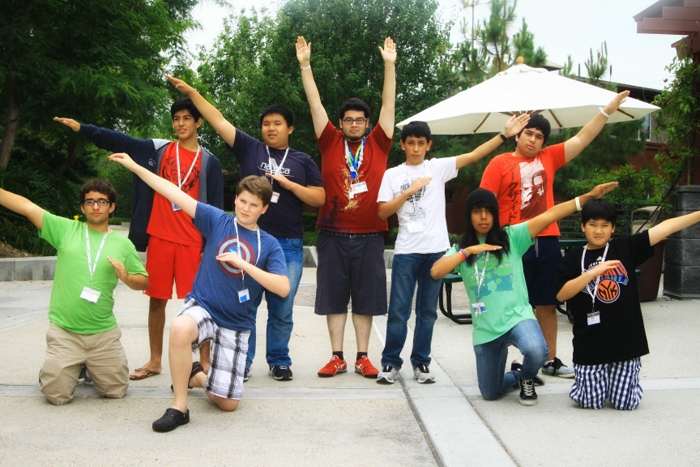
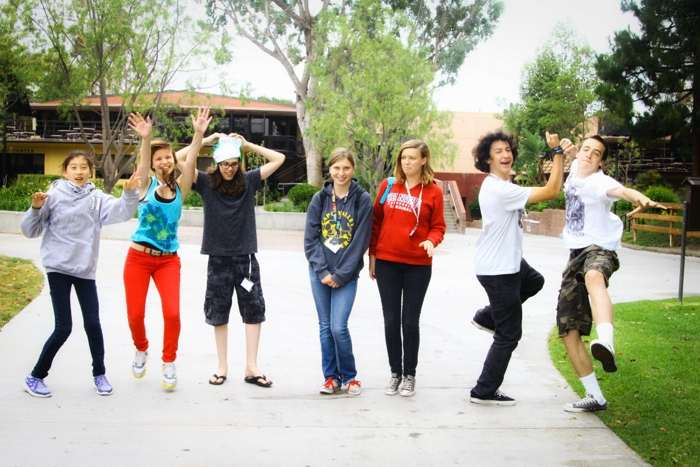
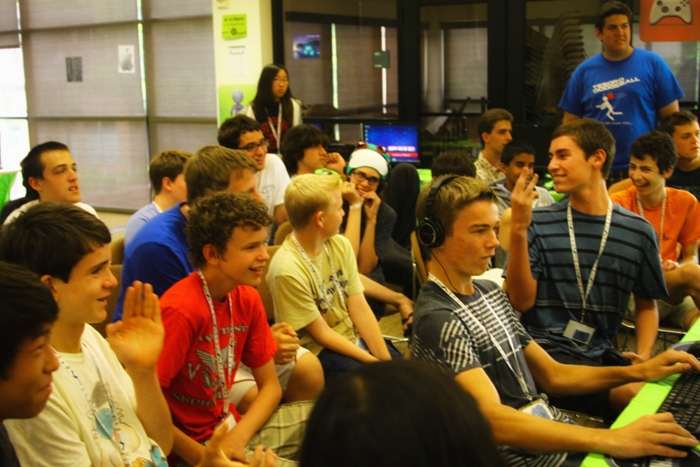
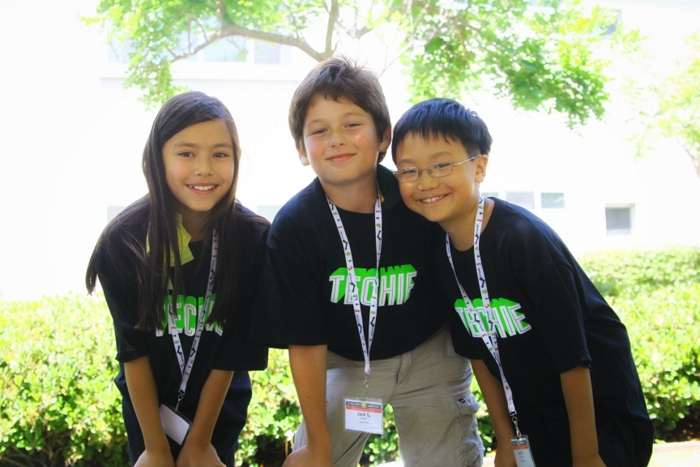
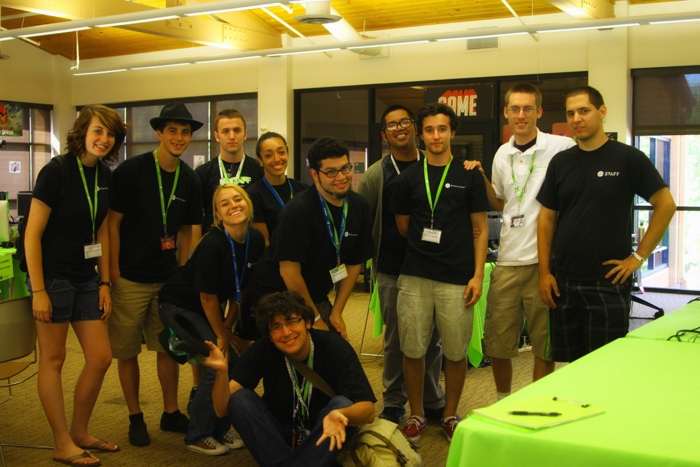
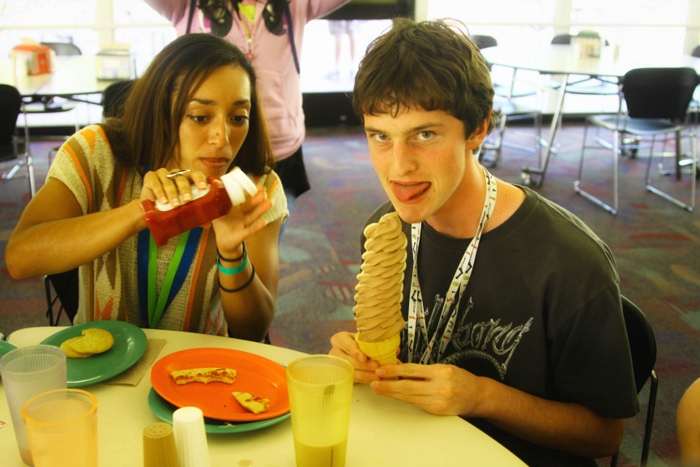
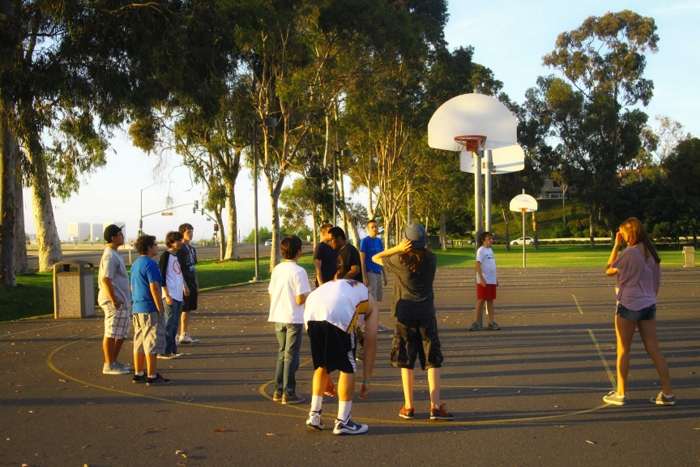
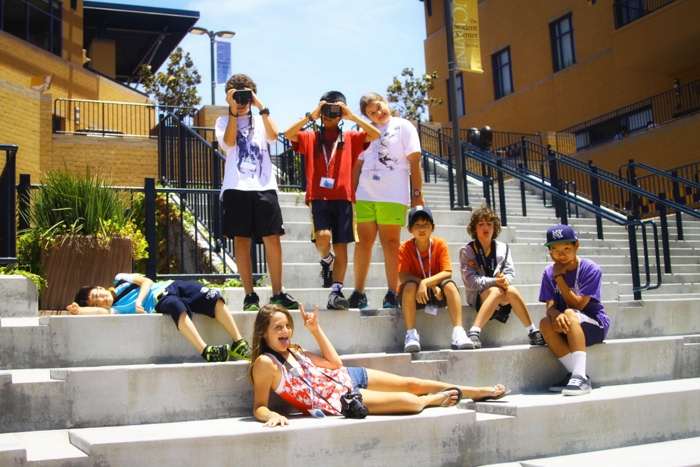
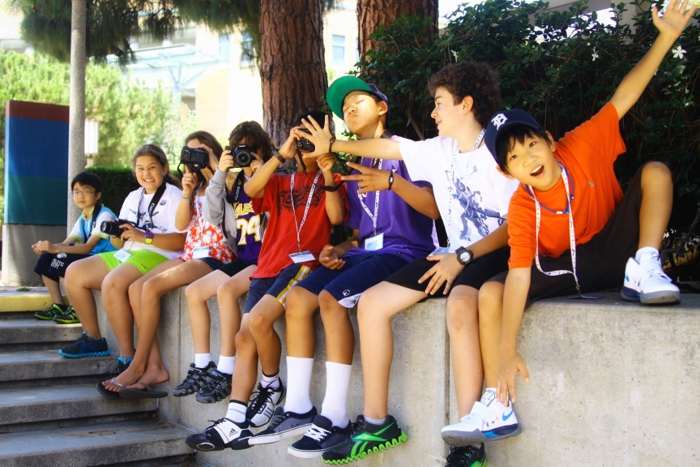
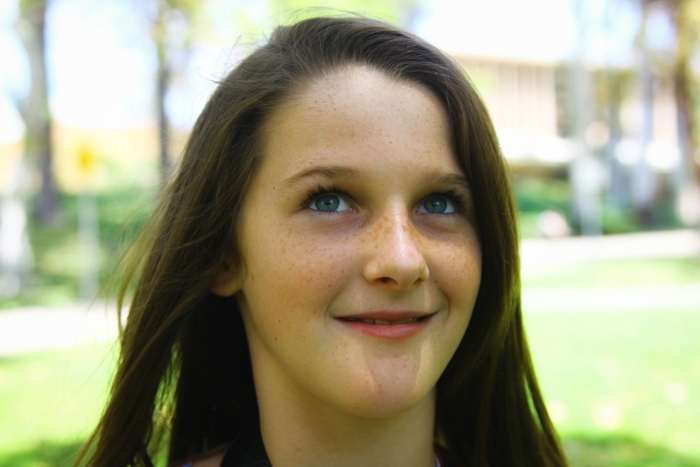
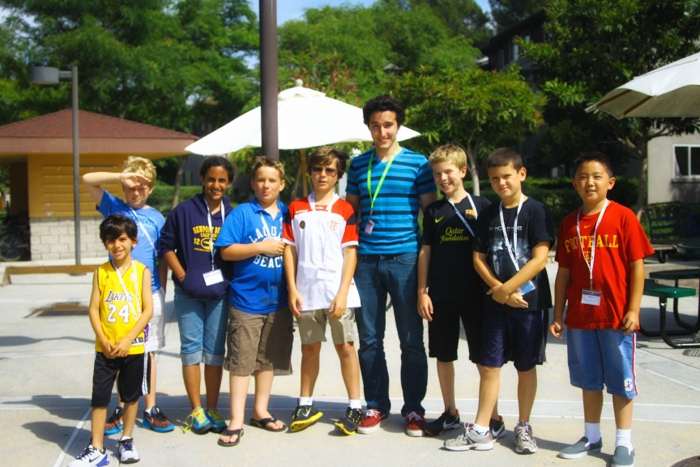
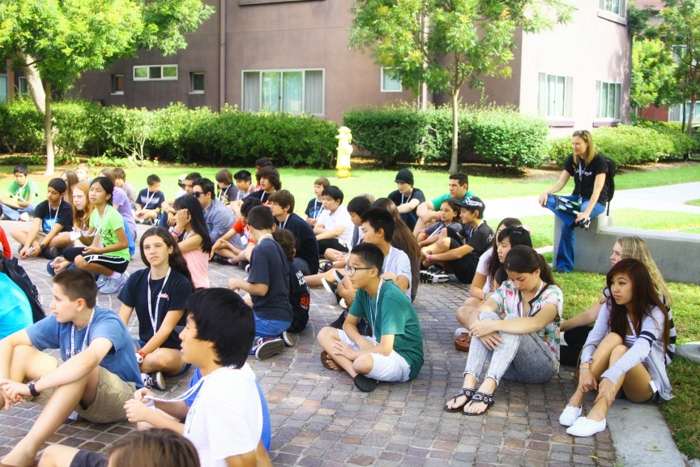
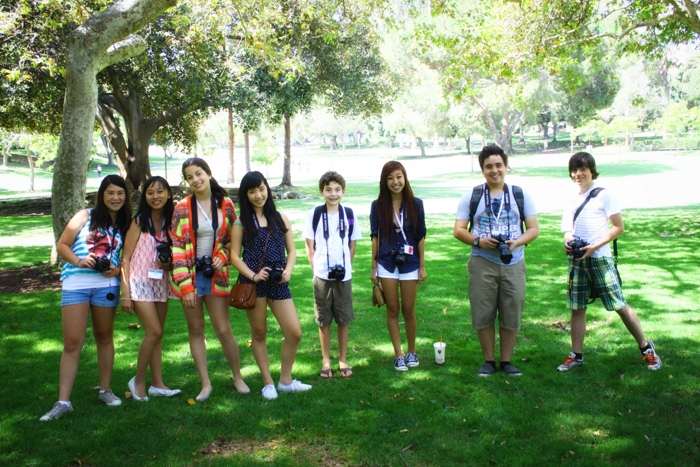
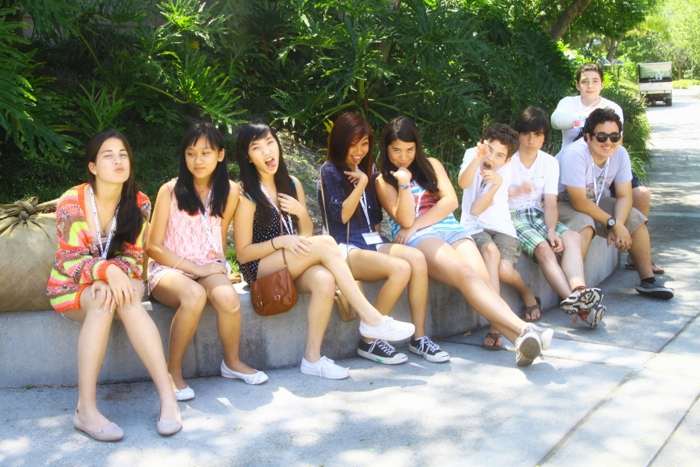
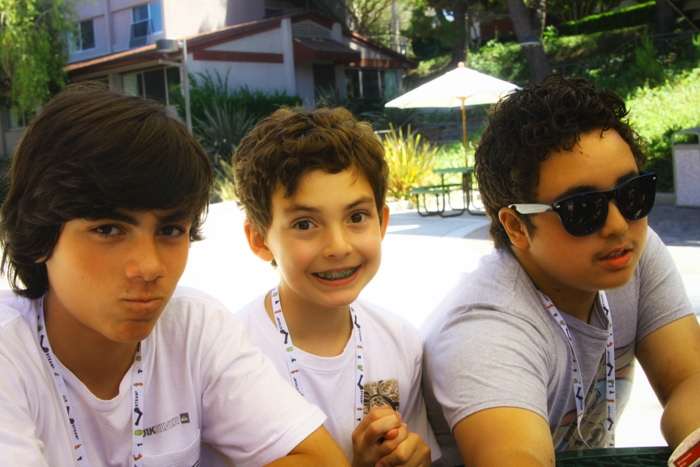
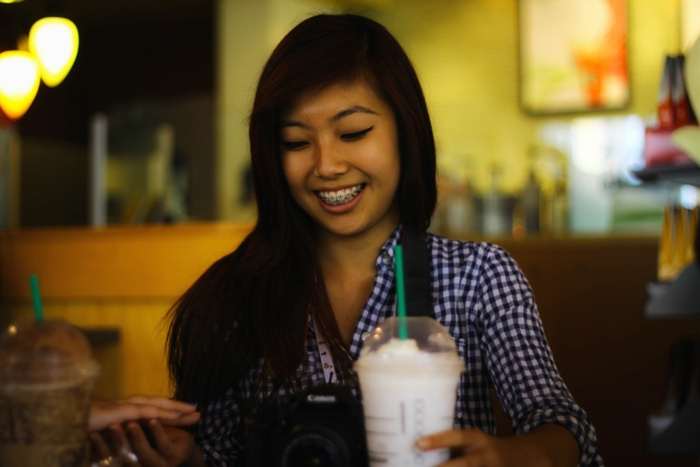
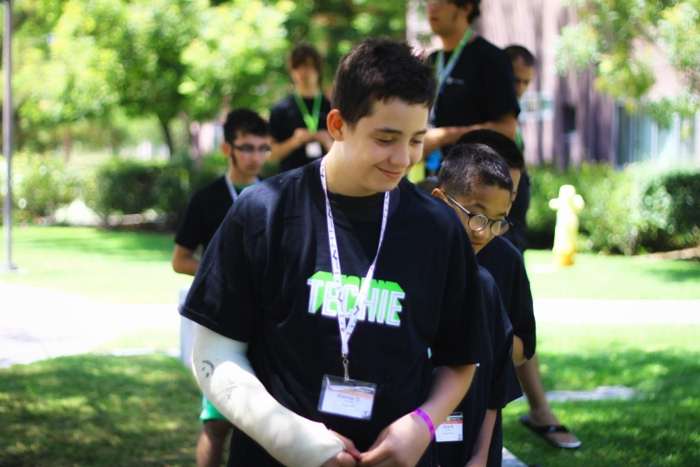
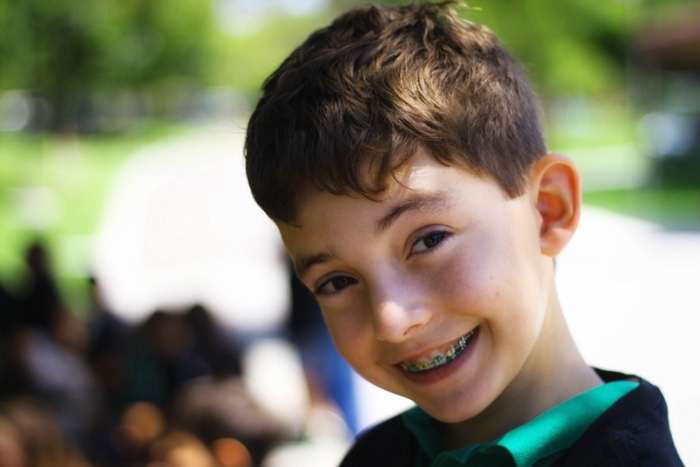
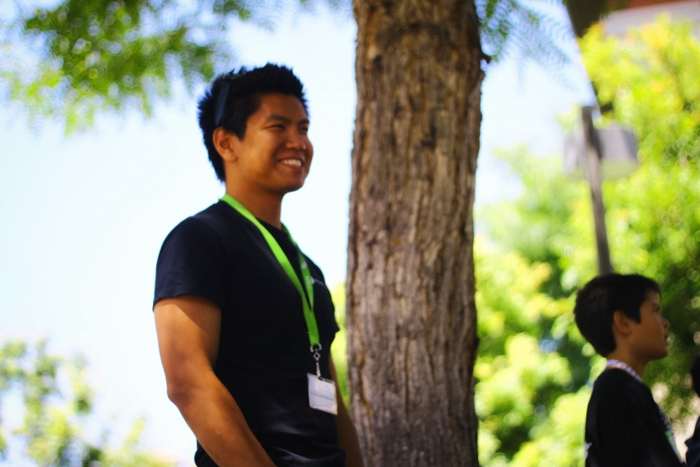
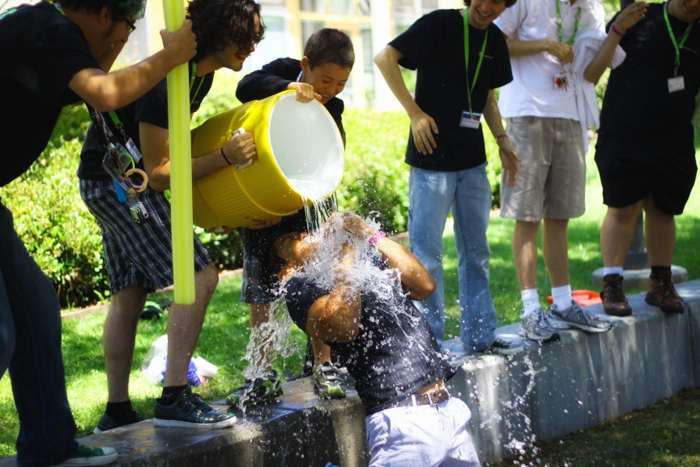
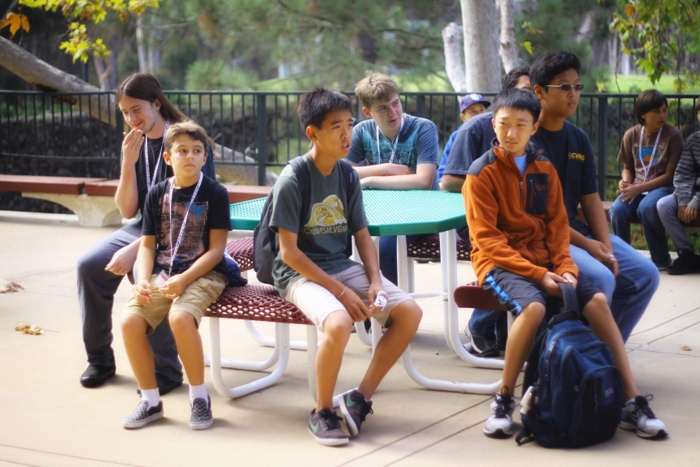
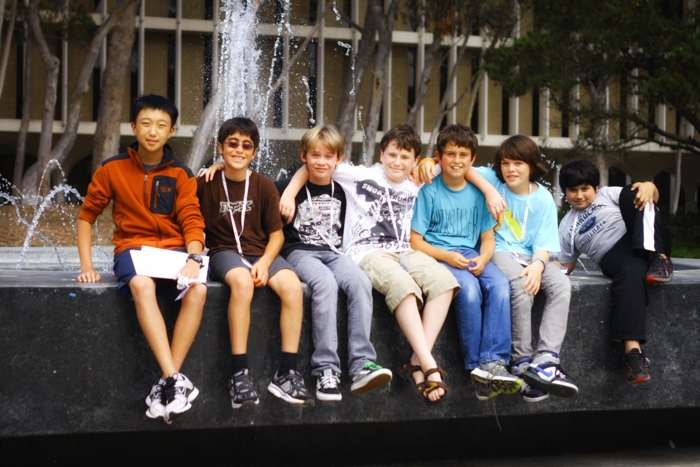
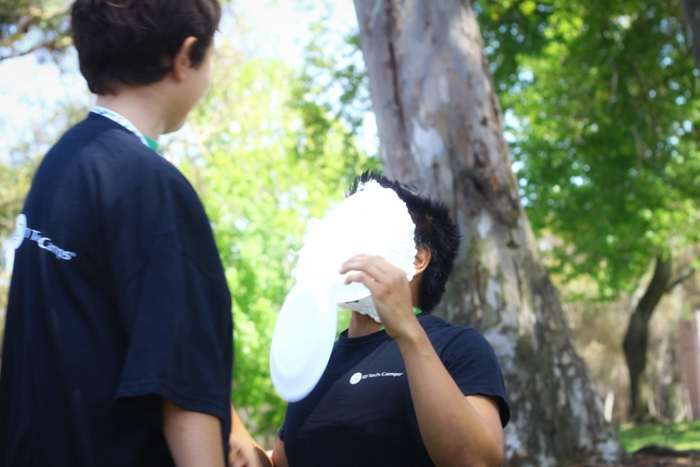
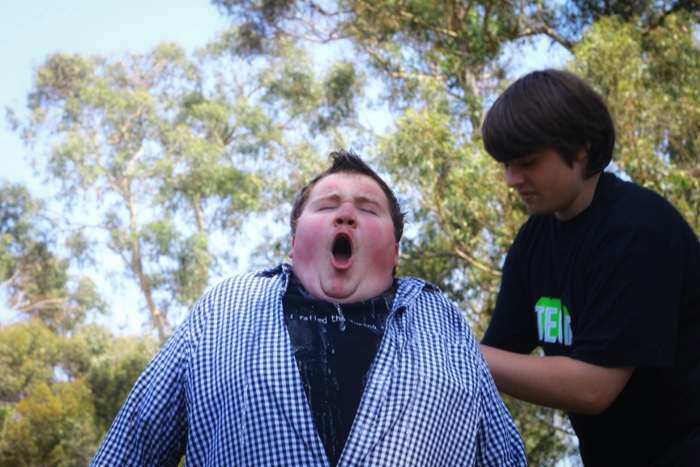
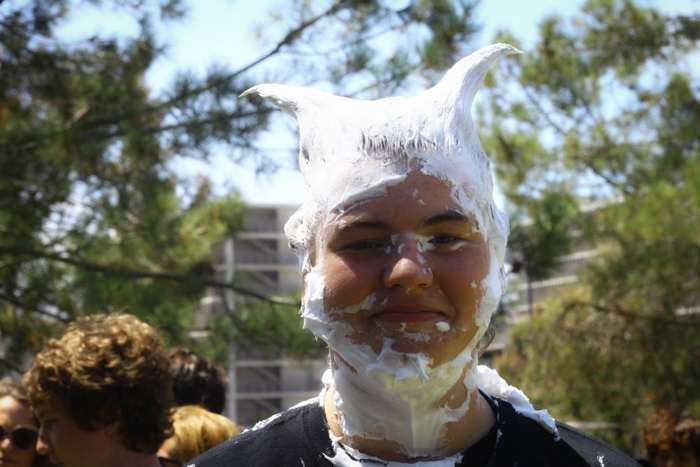
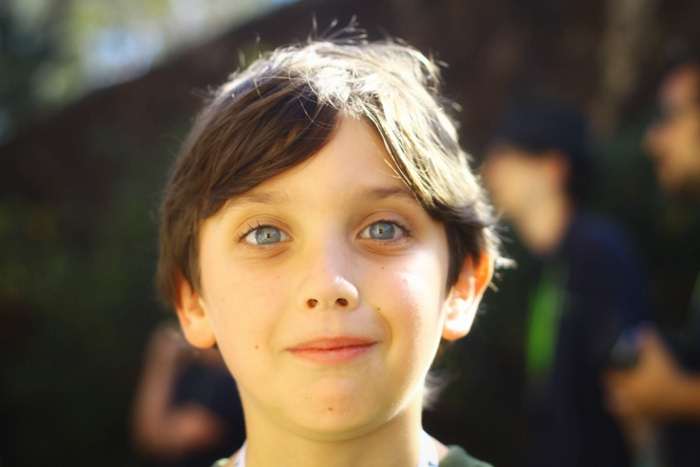
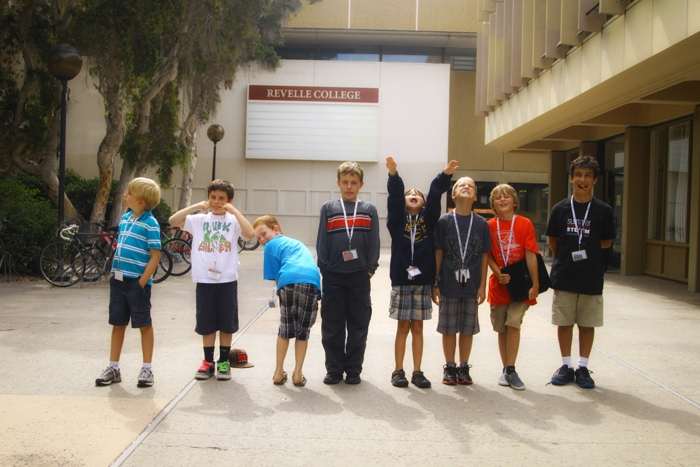
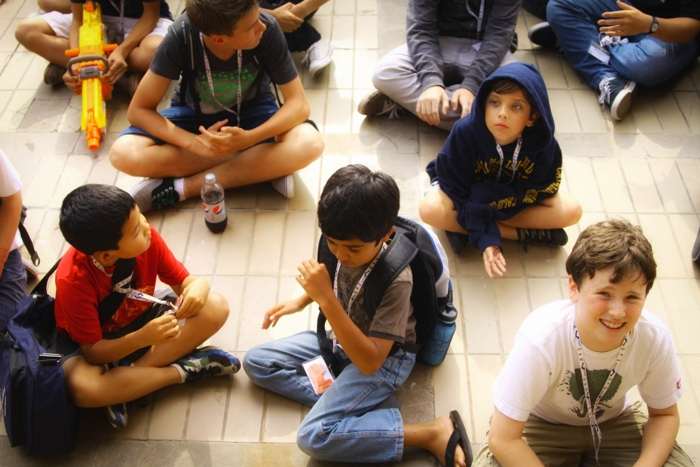
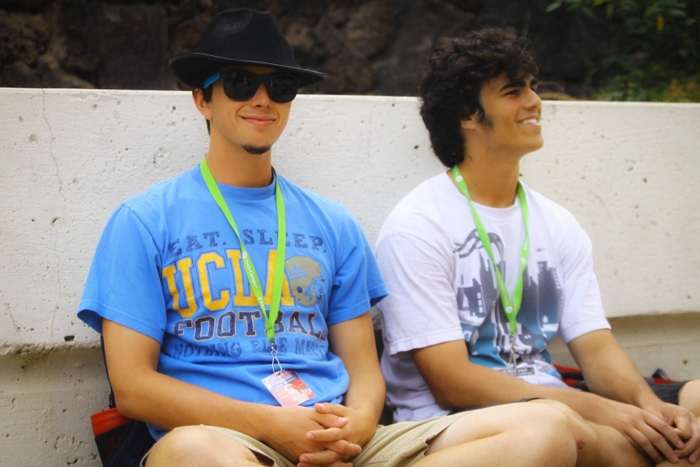
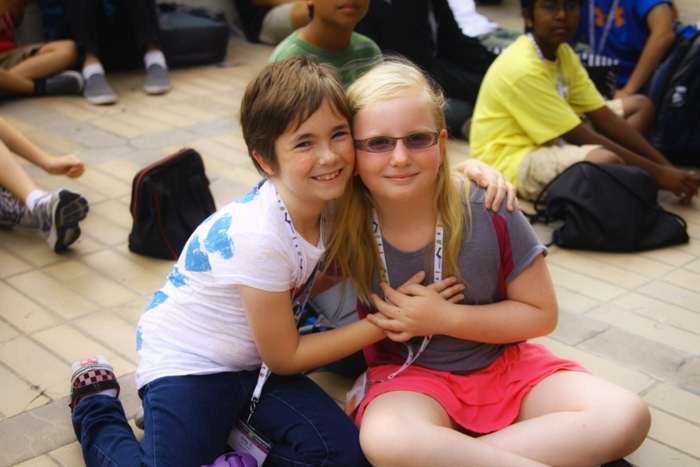
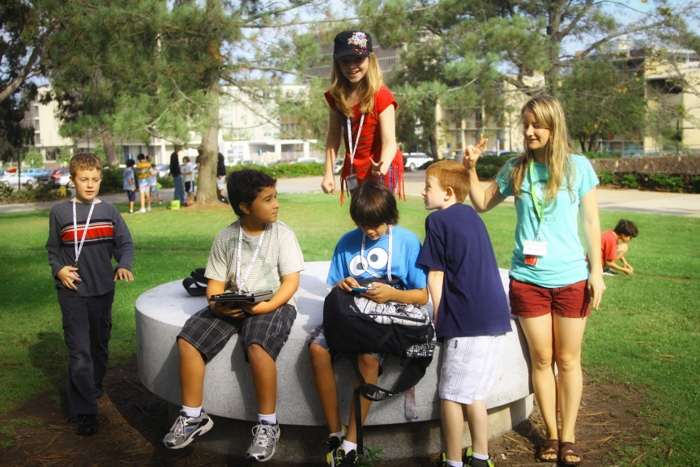
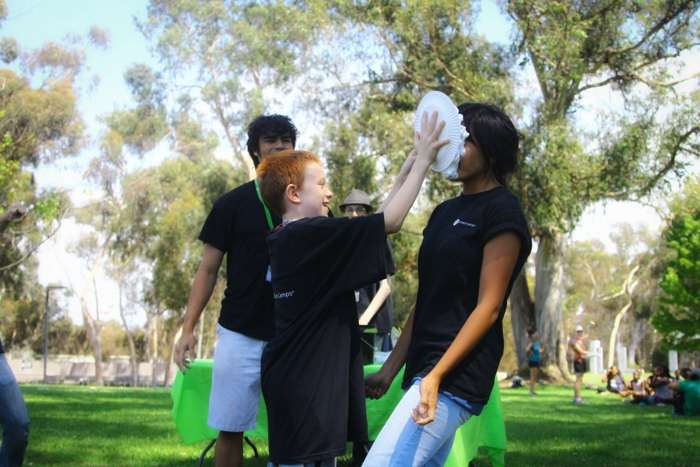
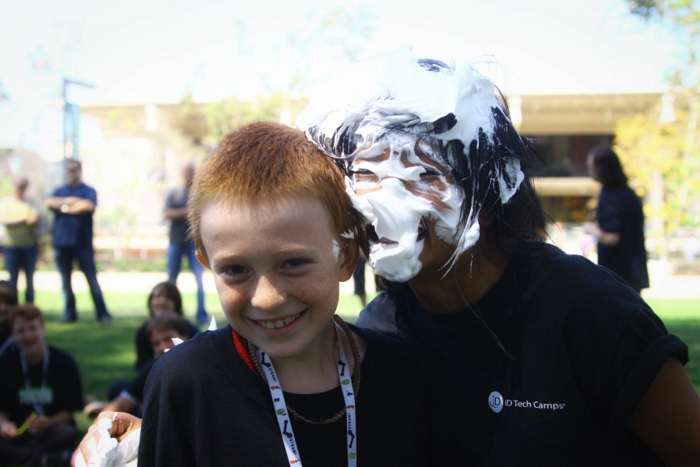
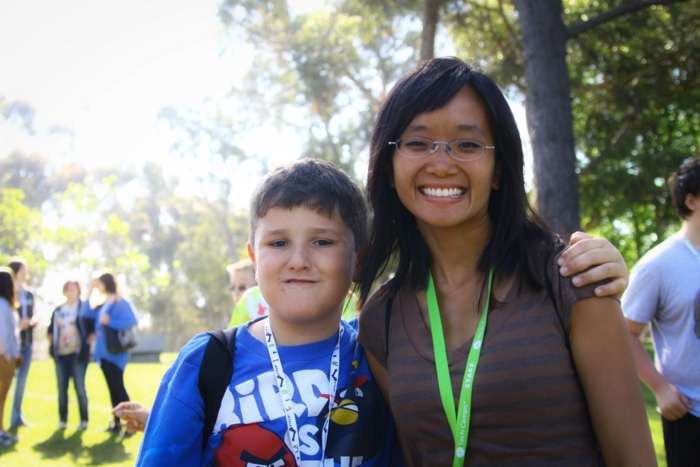
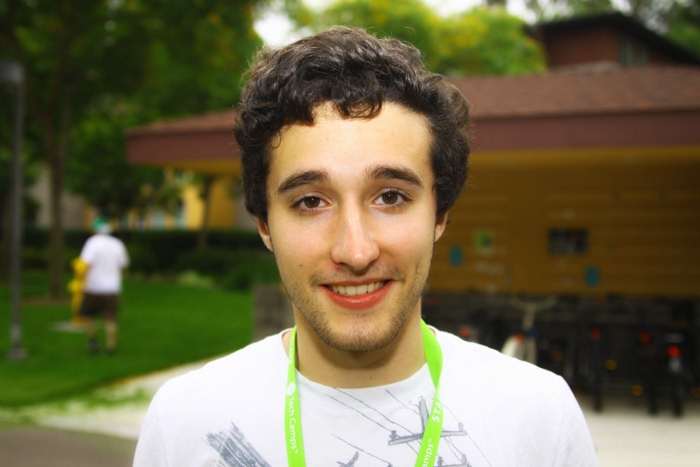
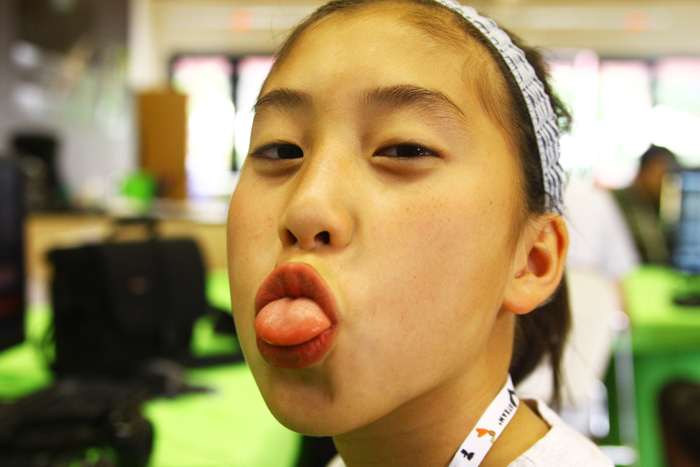
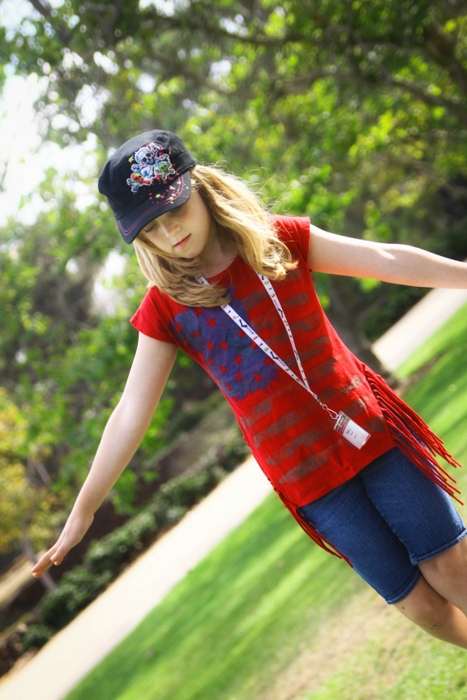
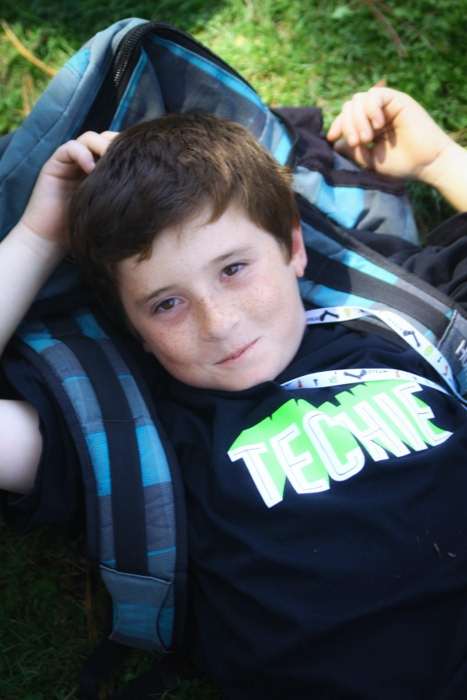
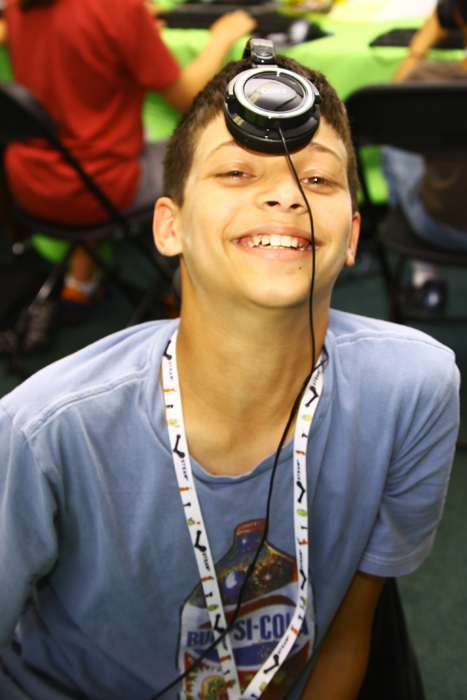
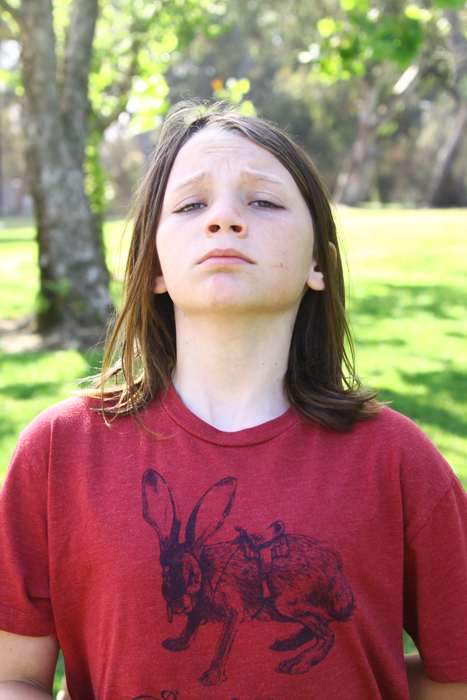
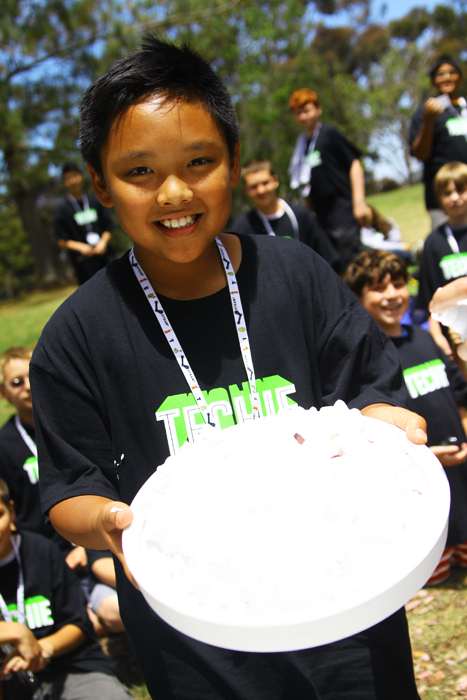
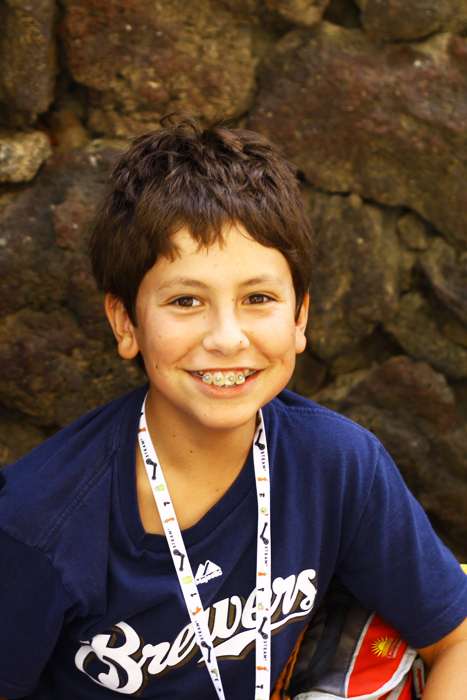
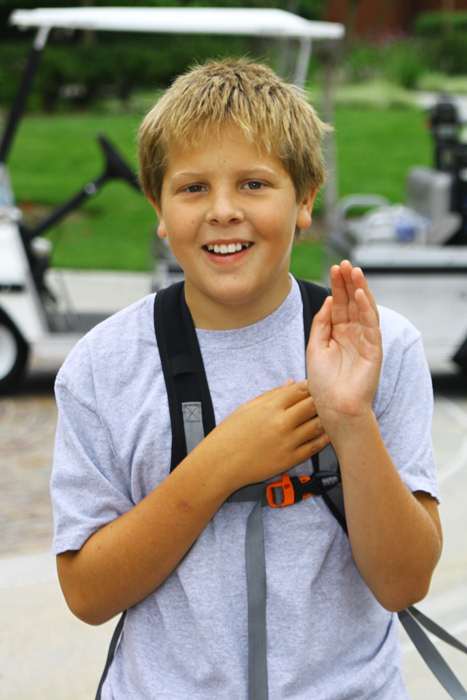
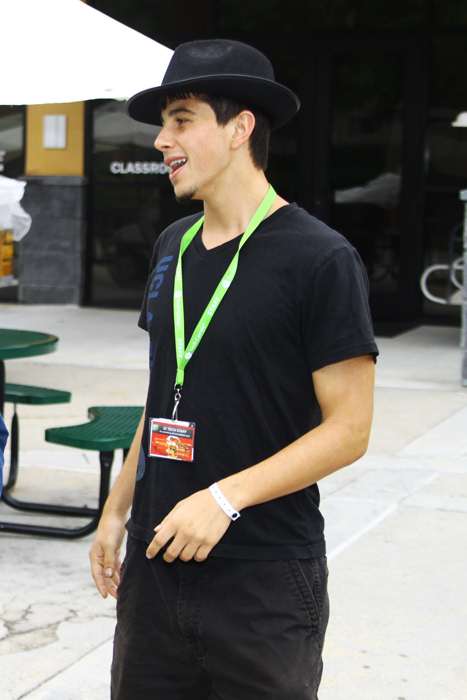
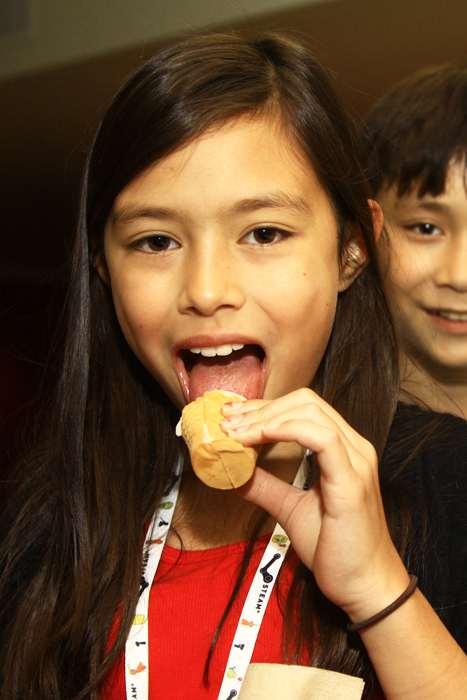
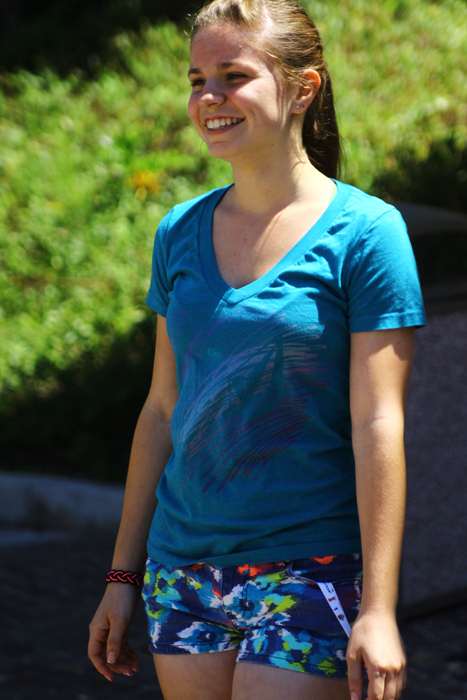
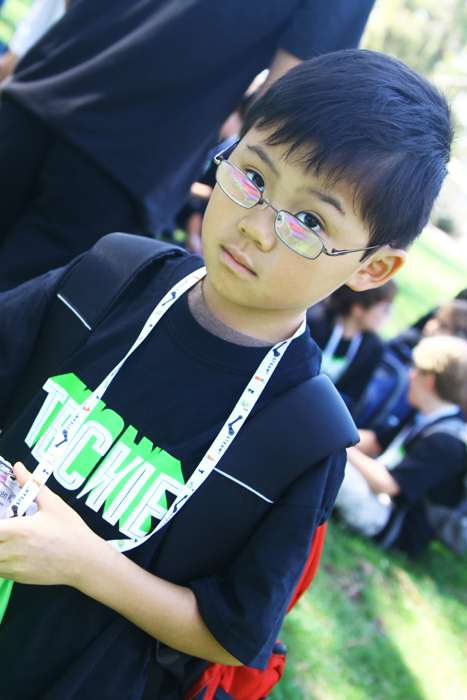
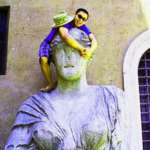
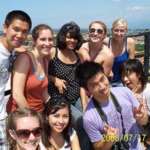
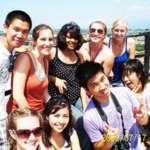
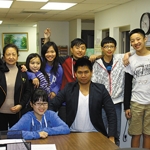
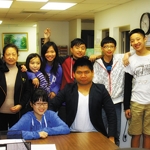
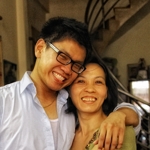
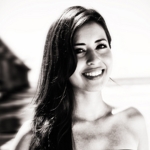
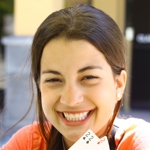
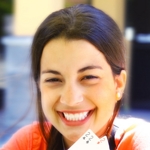
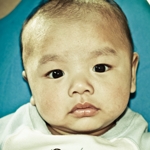
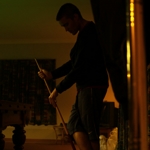
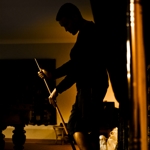
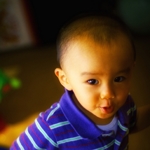
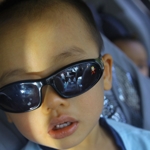
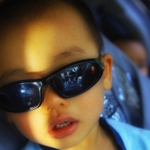
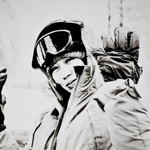
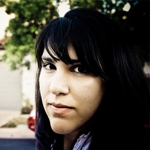
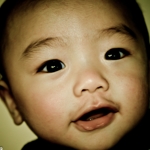
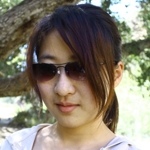
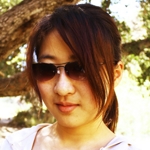
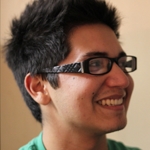
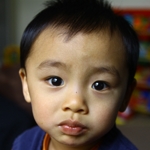
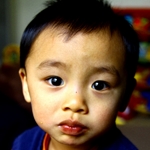
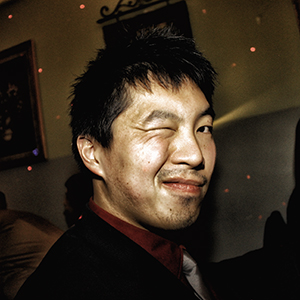
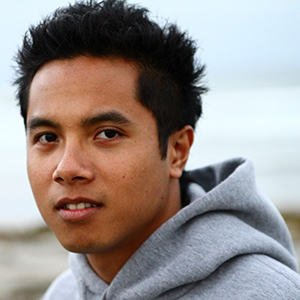
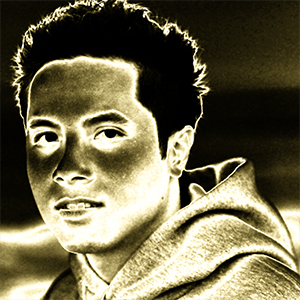
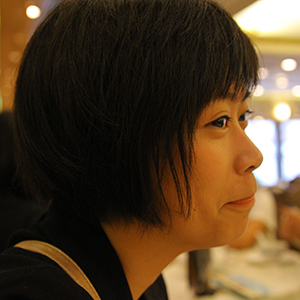
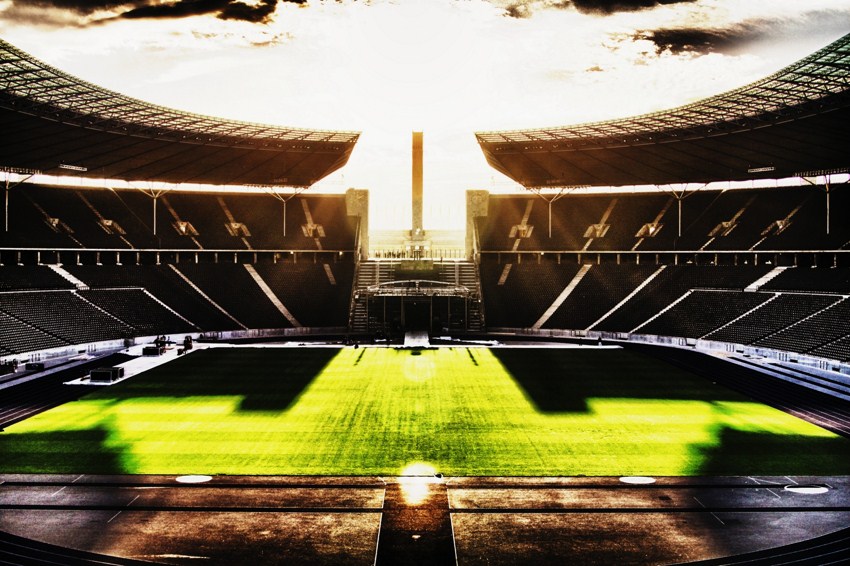
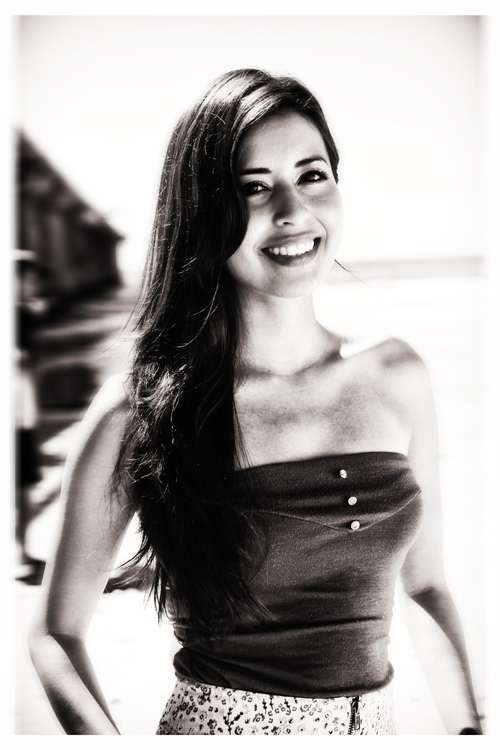
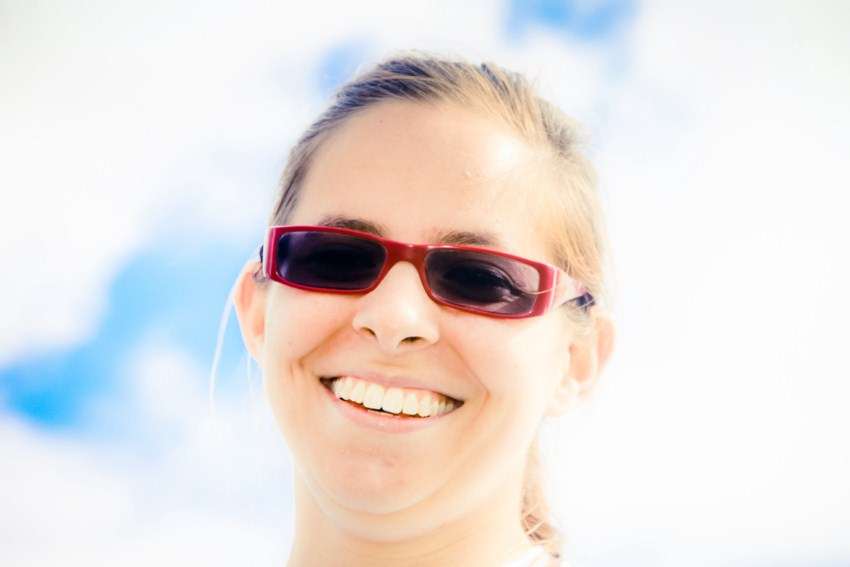
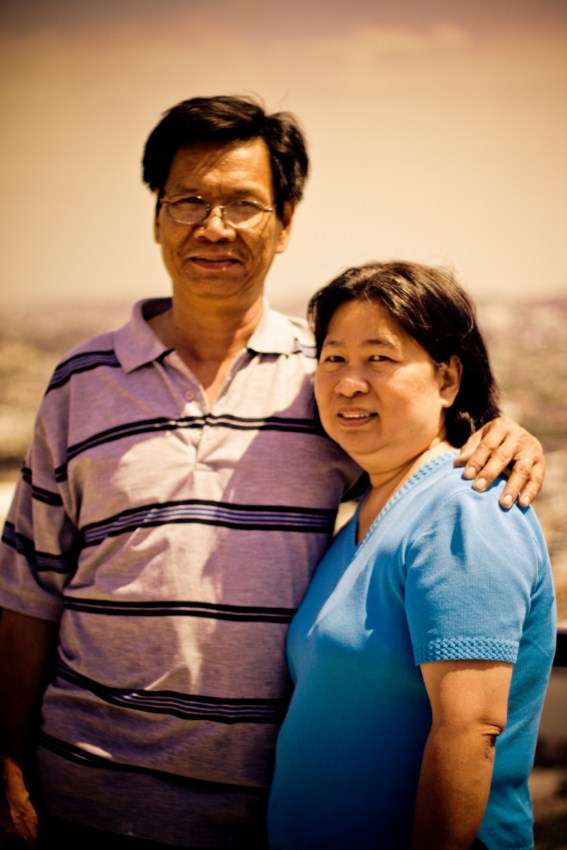
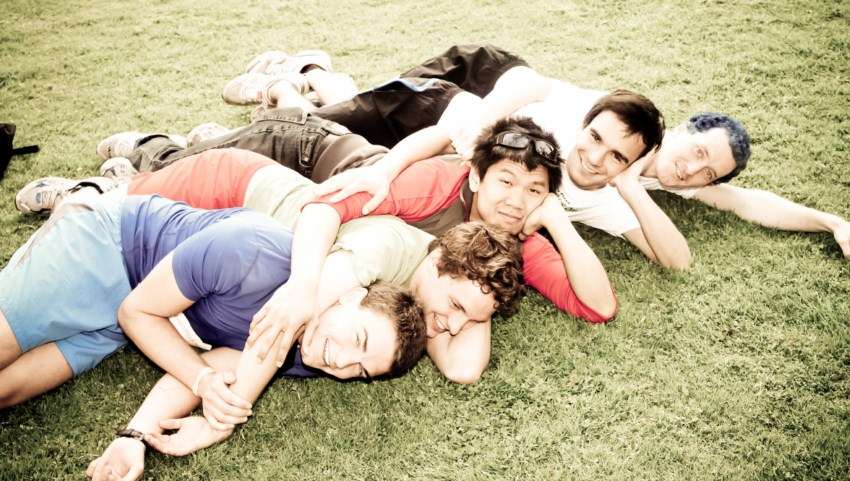
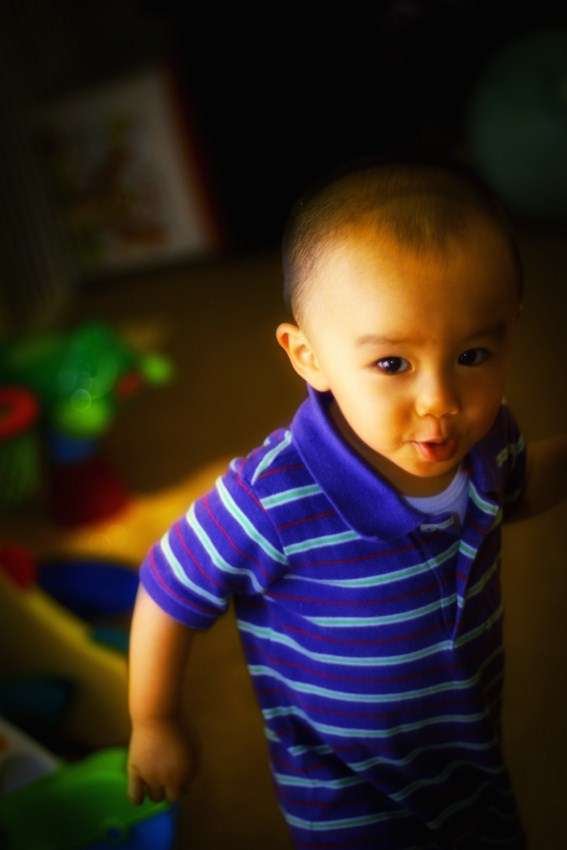
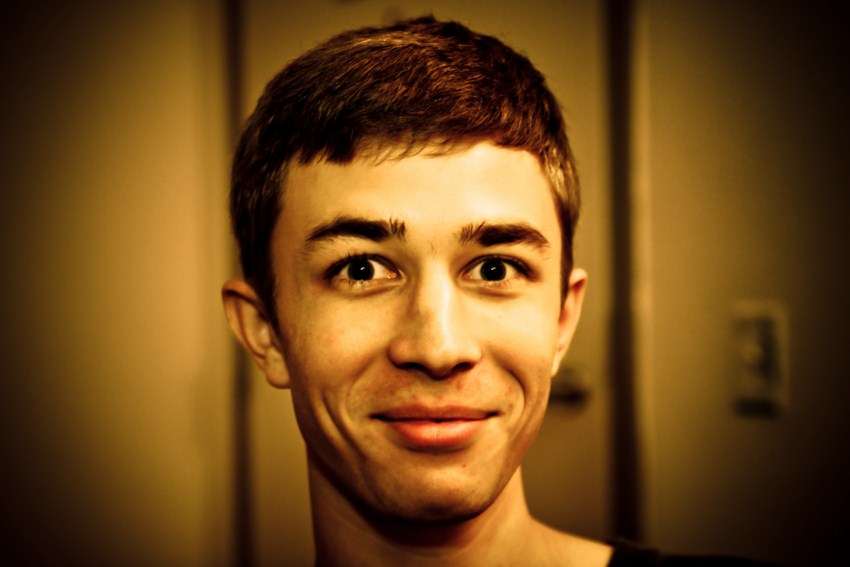
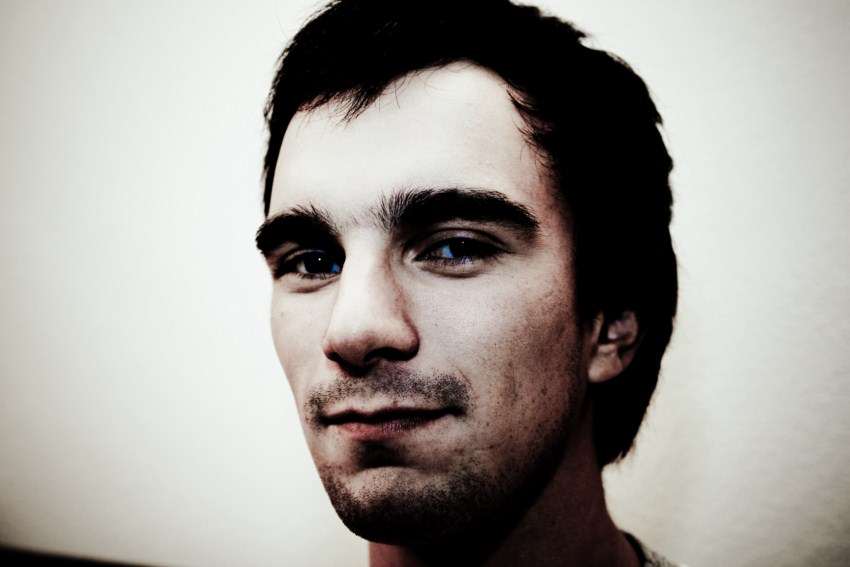
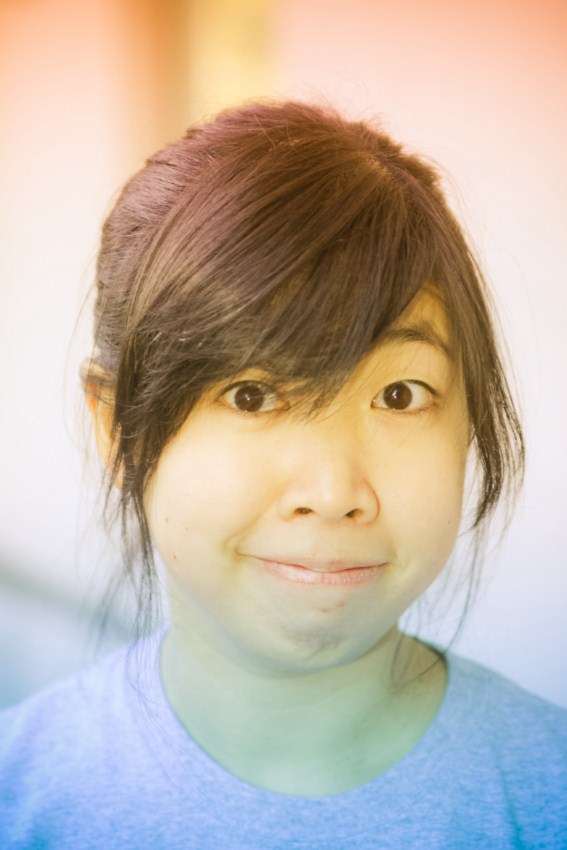
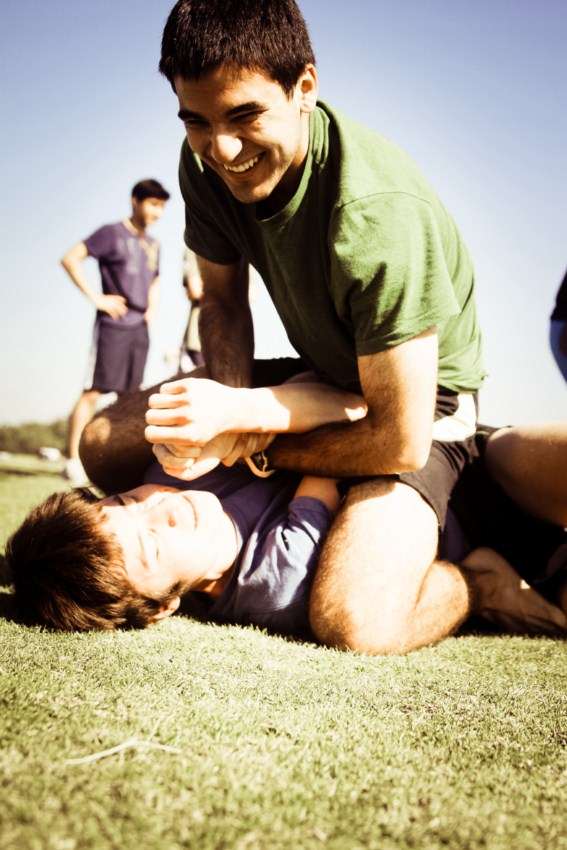
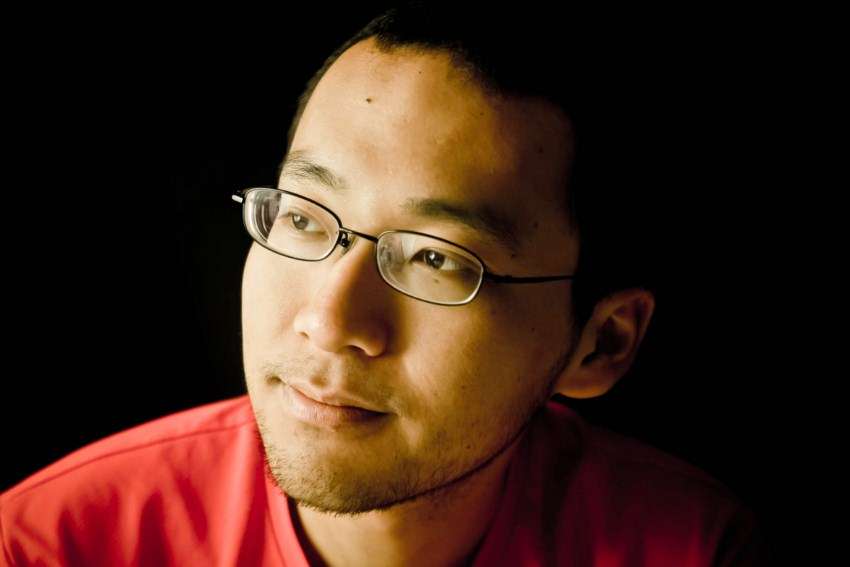
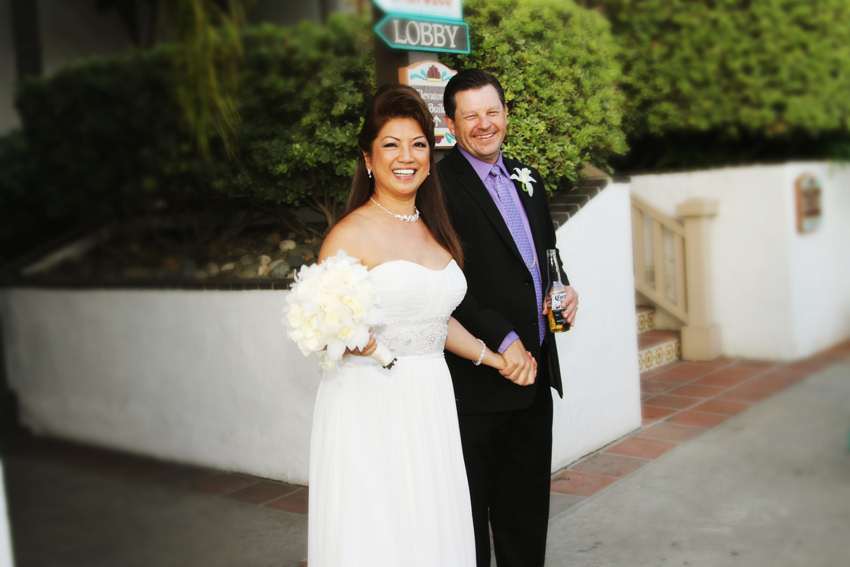
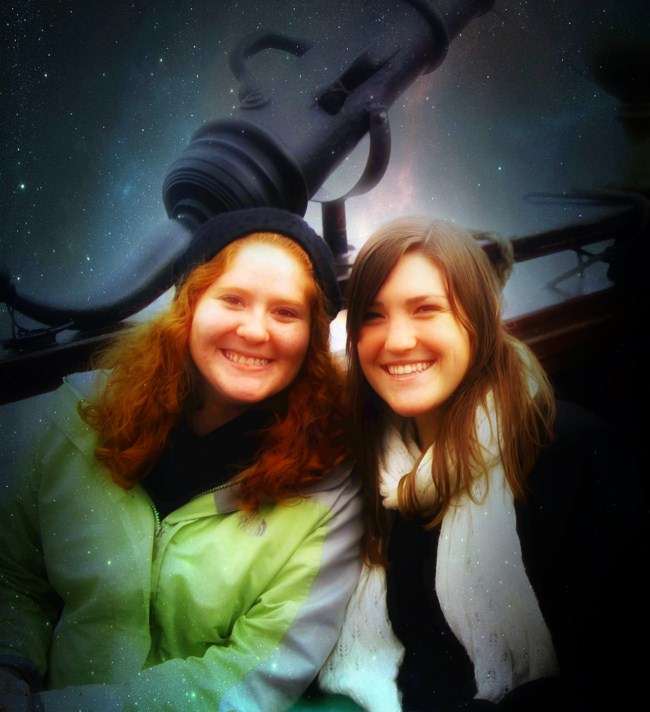
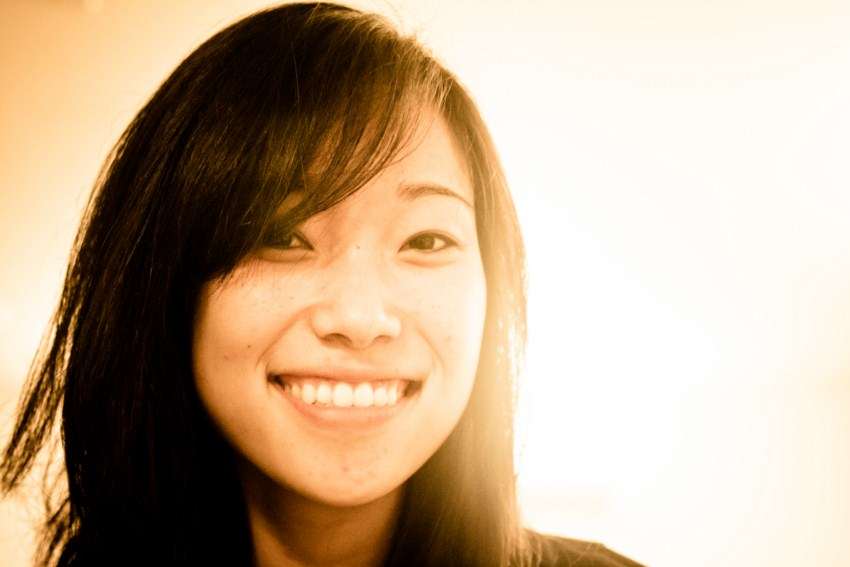
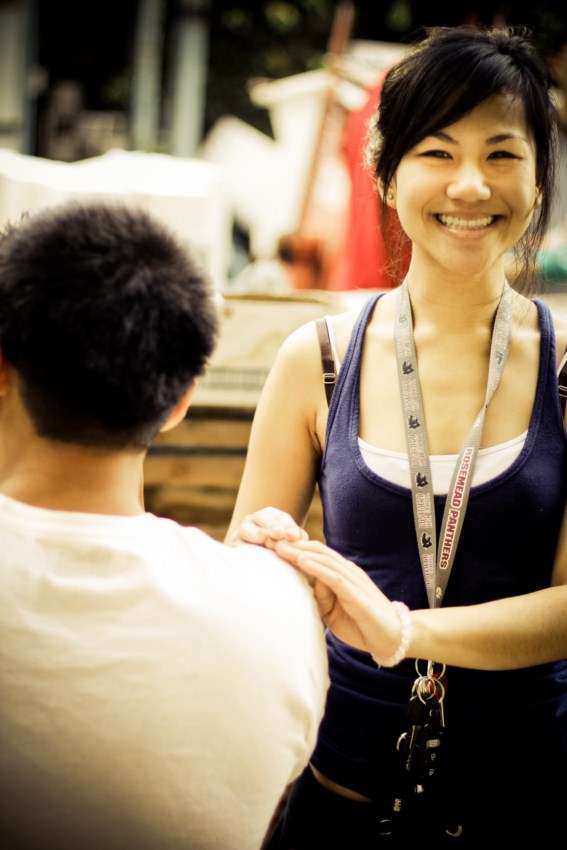
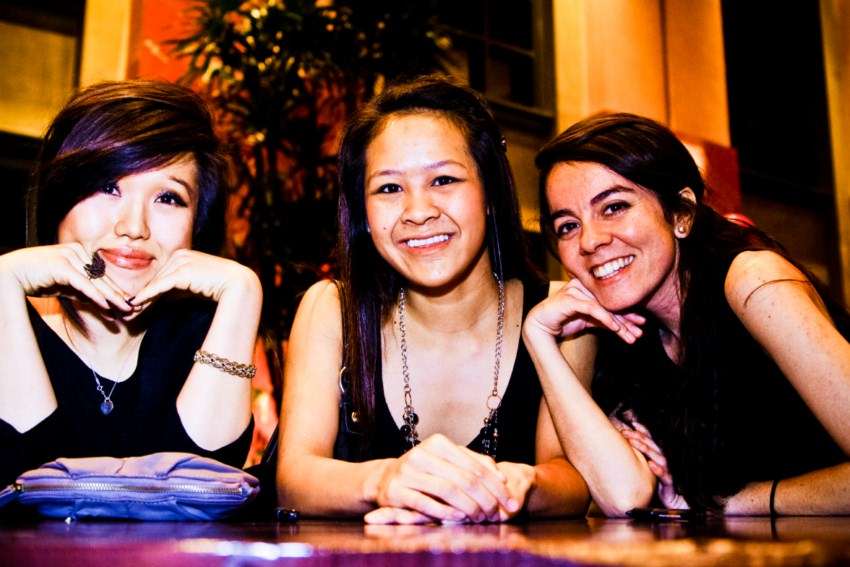
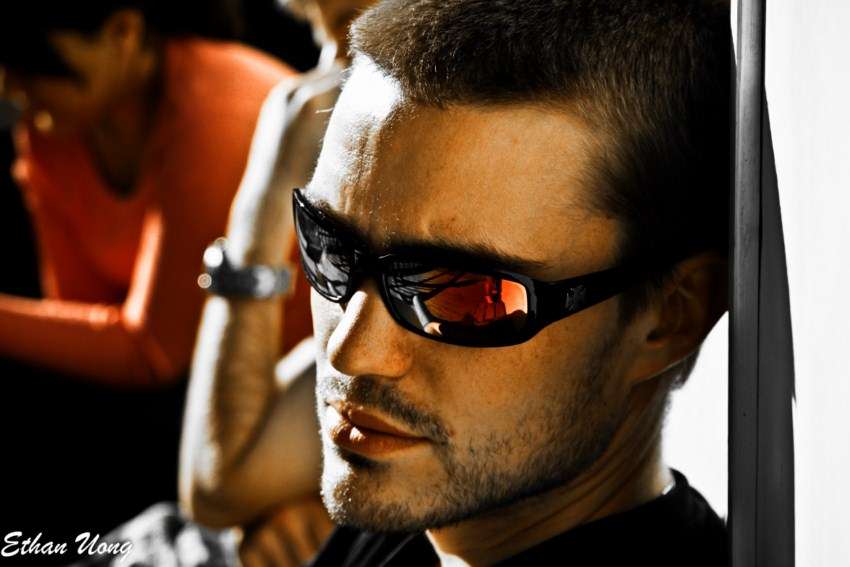
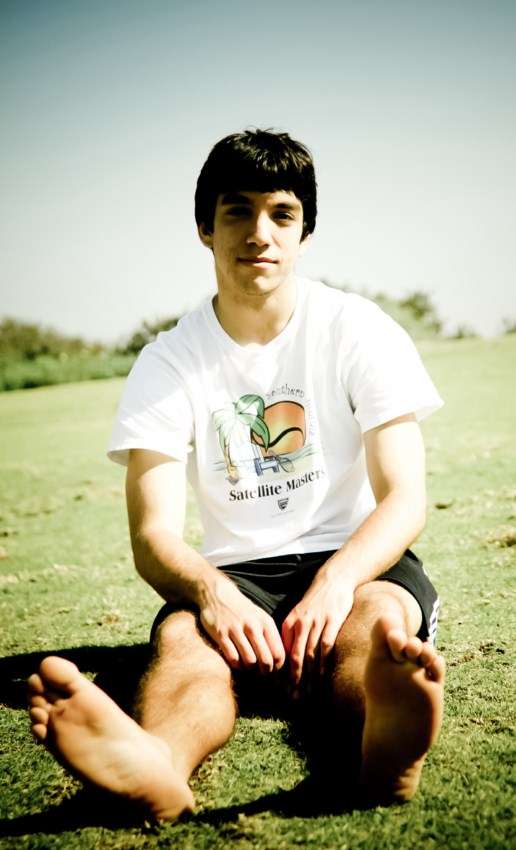
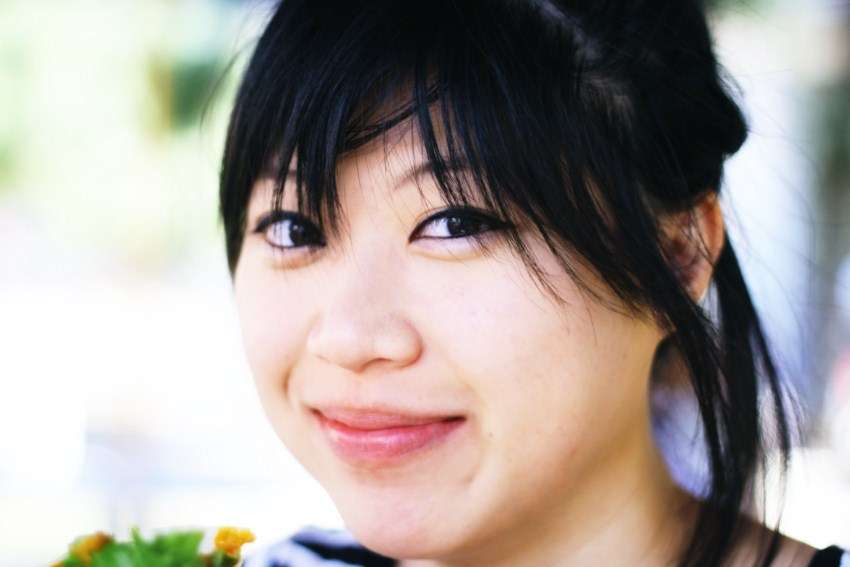
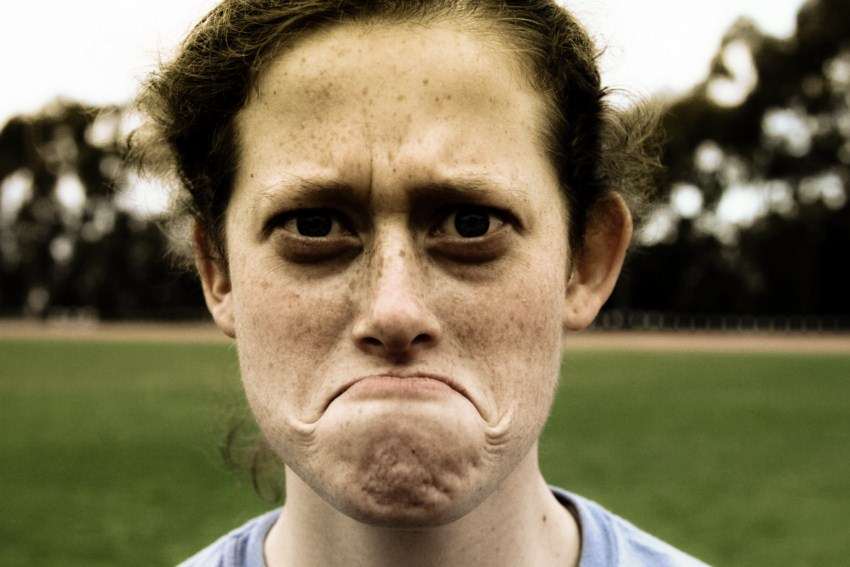
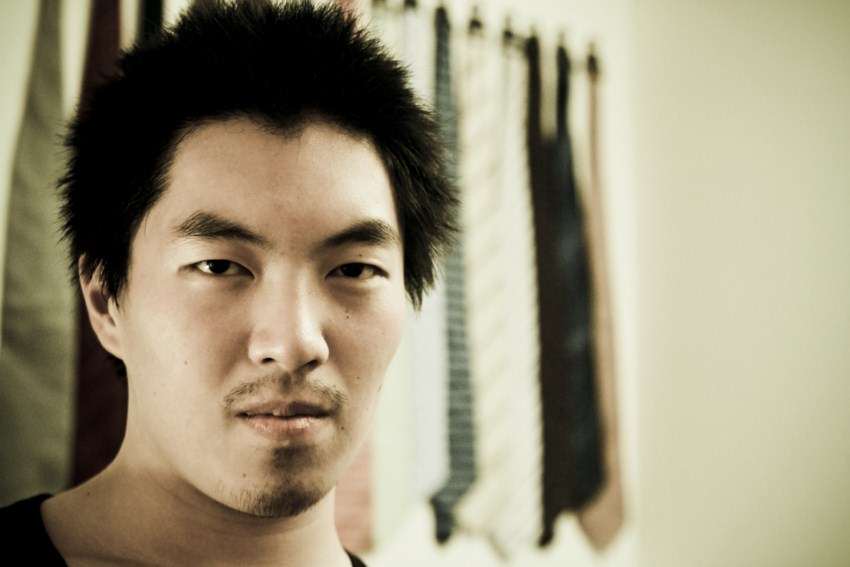
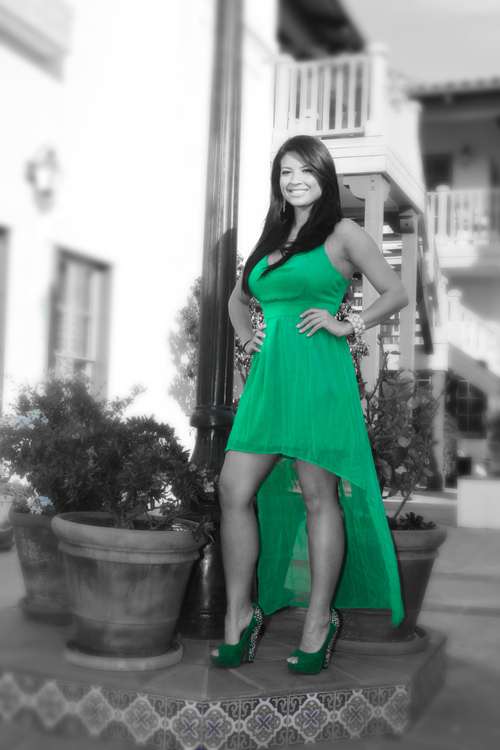
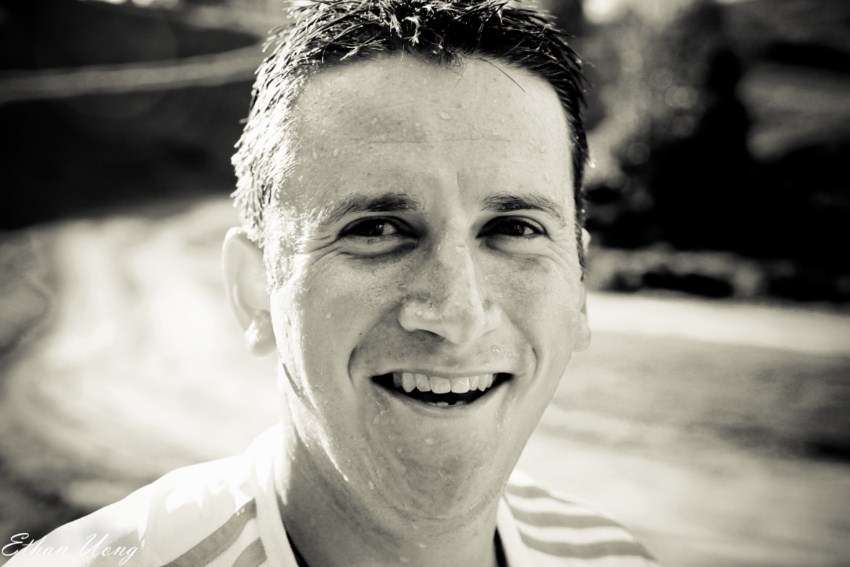
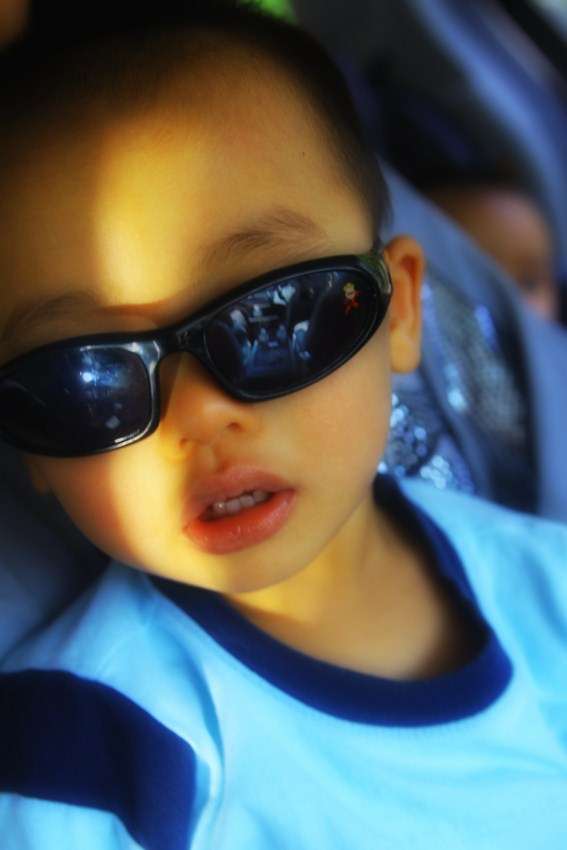
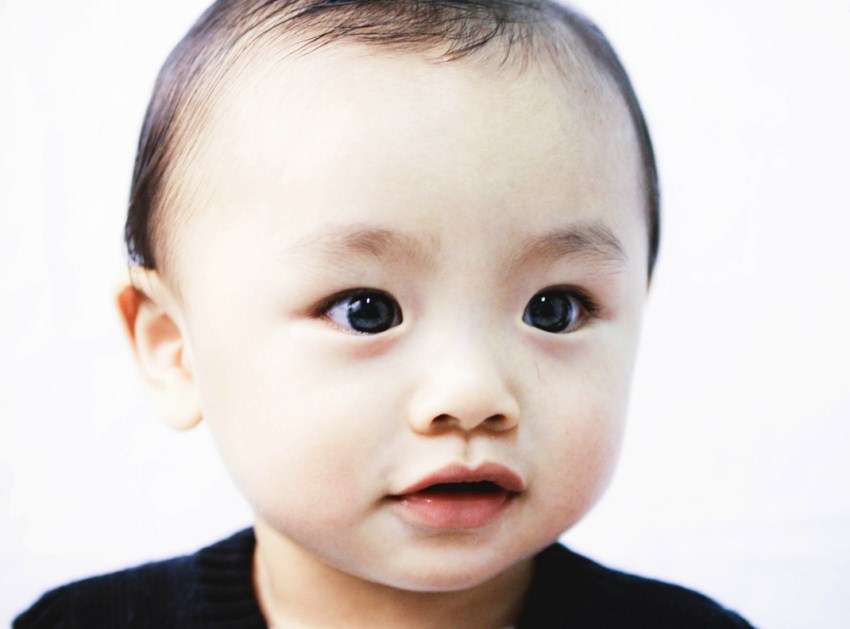
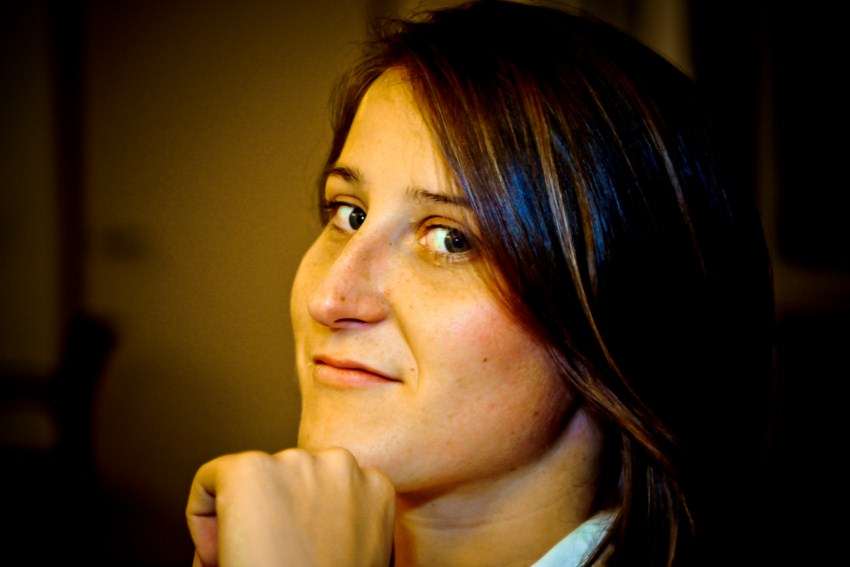
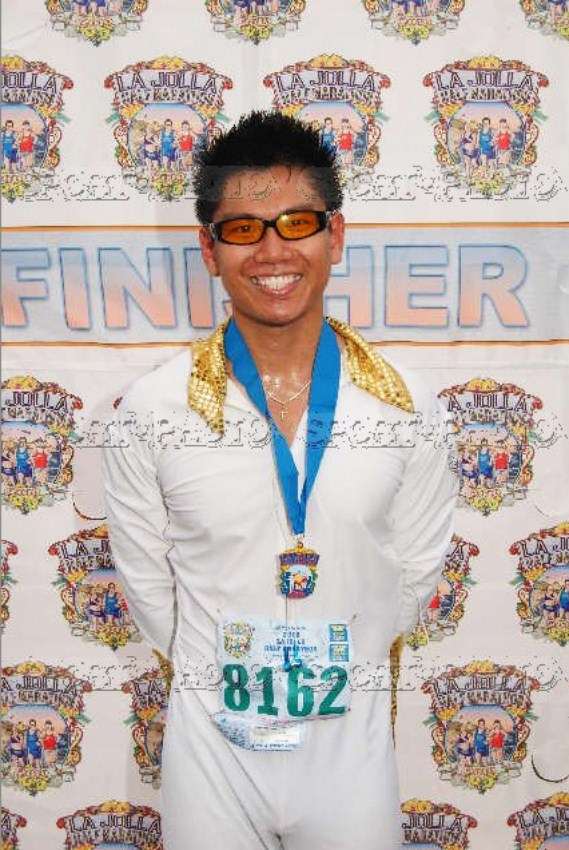
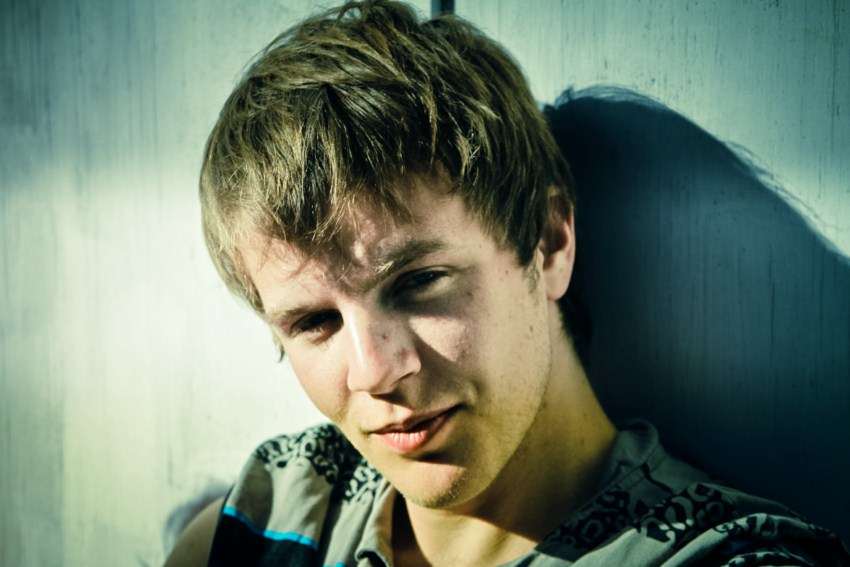
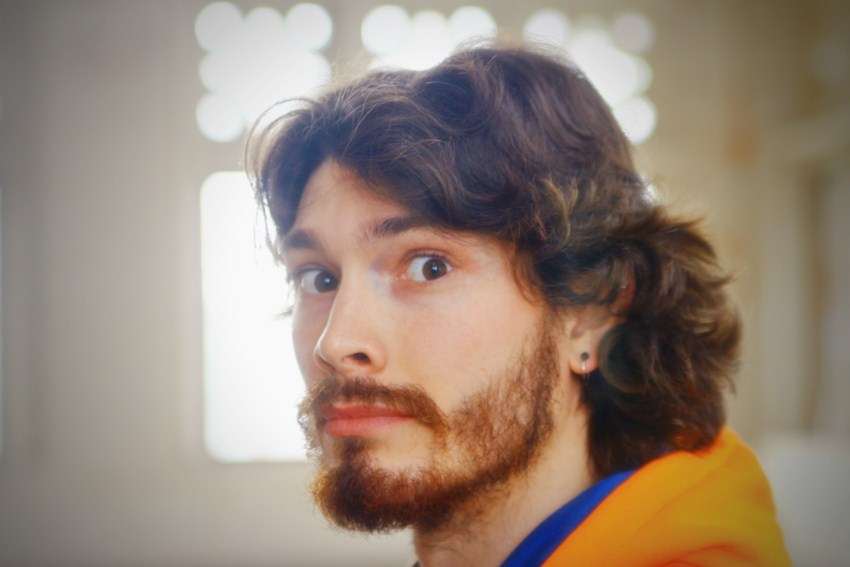
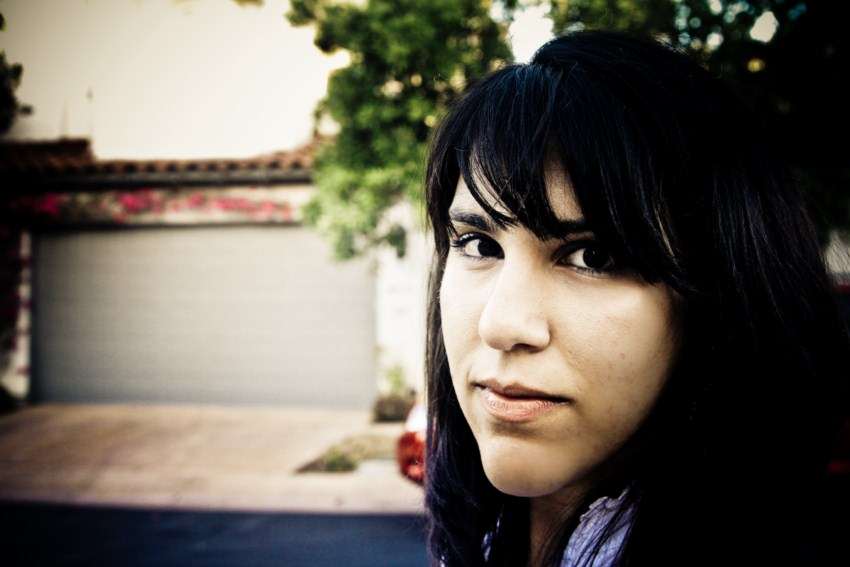
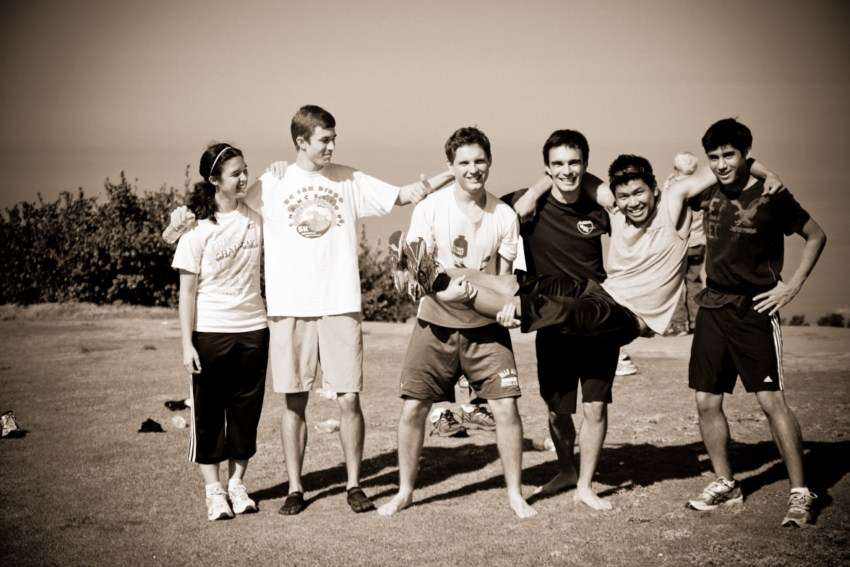
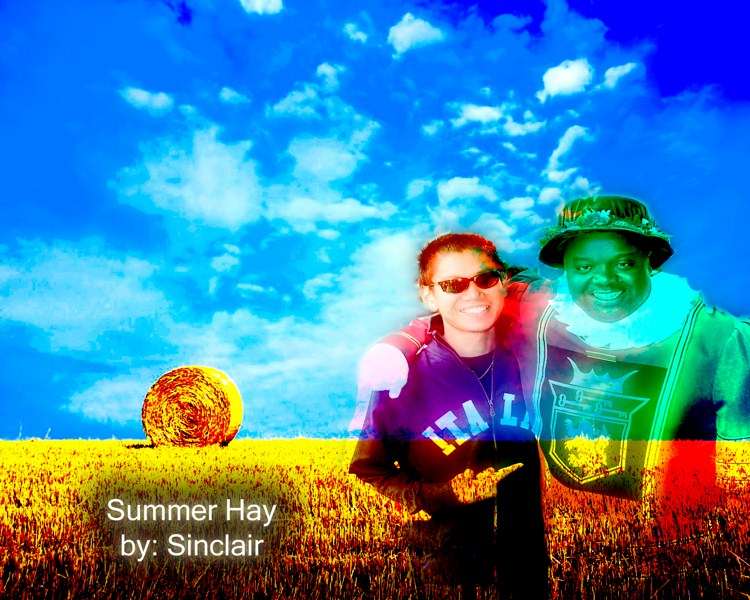
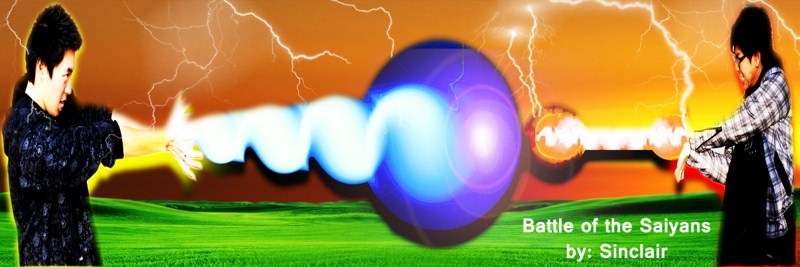
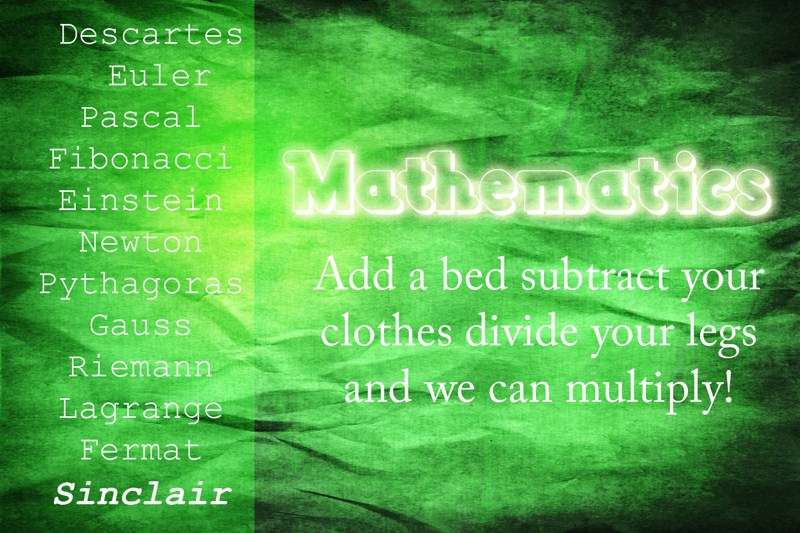
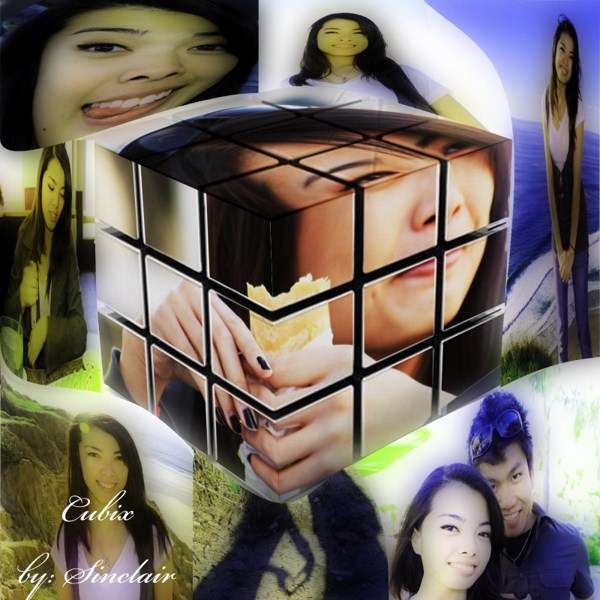
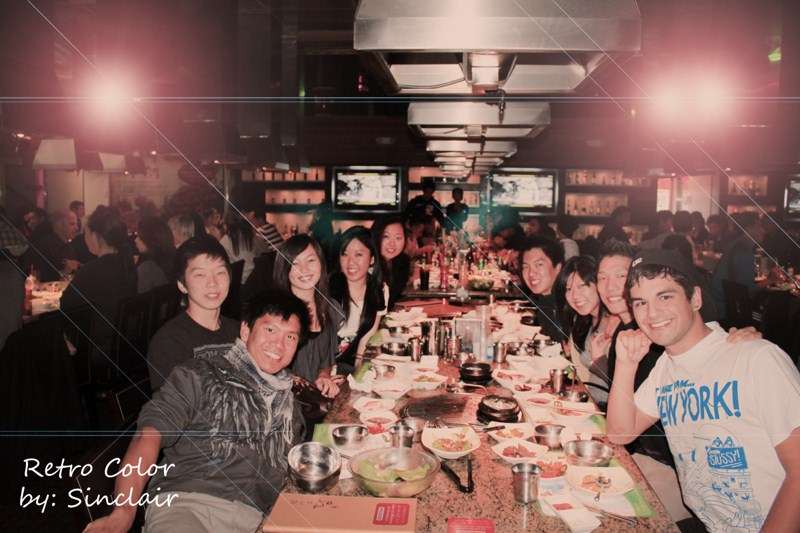
In summer 2012, I was very fortunate to be part of iD Tech and teach photography to a group of eight exceptional students. As photography is very important to me, these kids had made me a proud instructor with their awesome new skills. With their permission, I present you my kids' untouched pictures (from me) that they took and processed. I have taught many students and classes before and Cramp Nesy is by far the BEST CLASS ever! They inspired me in so many ways. Thank you, guys. :) YOLO!

Brad

Julia

Miles

Mariana


Rachel

Jackson

Colette

Emily


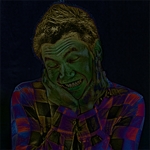


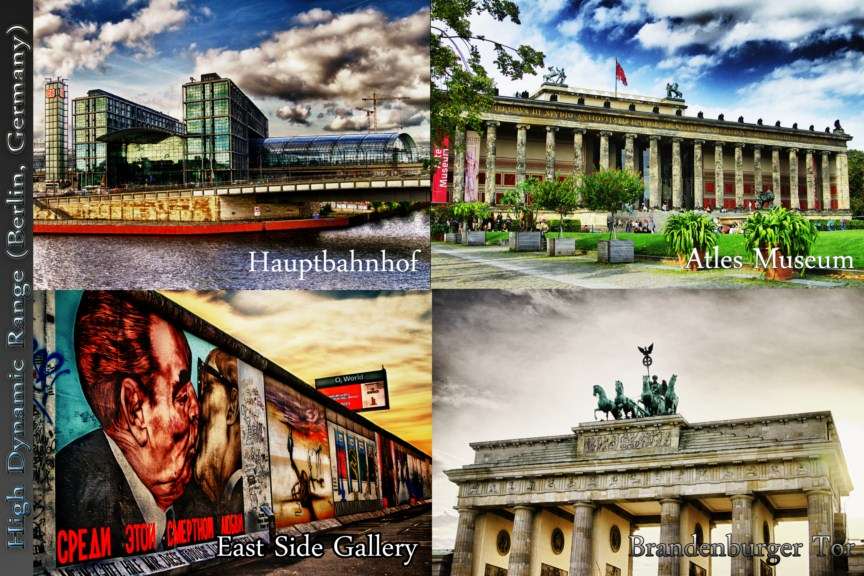
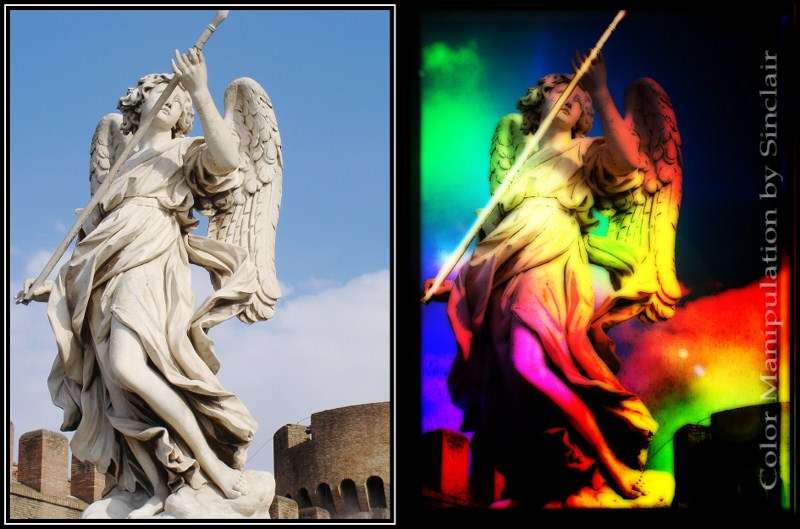
High Dynamic Range (HDR) is a method and technique to allow a greater dynamic range between the darkest and lightest fringes of an image. In other words, this technique brings out the clear details of the clouds or objects in the background (under exposure) but at the same time enhances the elements and structures of the focused objects (over exposure). The objective of HDR to produce a high contrast, saturation, and artistic effect by superimposing the dark and bright areas together and by means of digital imaging software like Photomatix or HDR Efex (my favorite). To archieve this, one must set his camera to any mode that controls the light intake of his camera (shutter priority, aperture, etc). The most effective way, in my opinion, is to just control the exposure by using automatic bracketing (a useful feature that most cameras have). It is imperative to have the same increment for each exposure (i.e -1,0,1 or -3,-1,1). The number for the increment does not matter, but the increment must be consistent (i.e if the exposure increment between the first two pictures is 2, the increment between the second and third picture must be 2 as well), this is how you compensate for the loss of quality by allowing the software to stitch according to the settings. Because you are processing the same picture (at different exposures!), you will want to have a tripod to ensure the pictures don't move. The example below might shed some light.


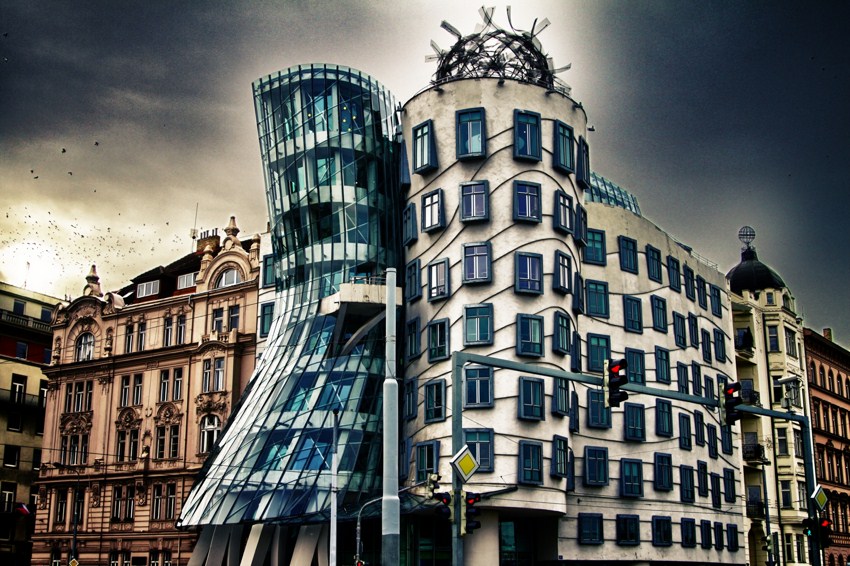
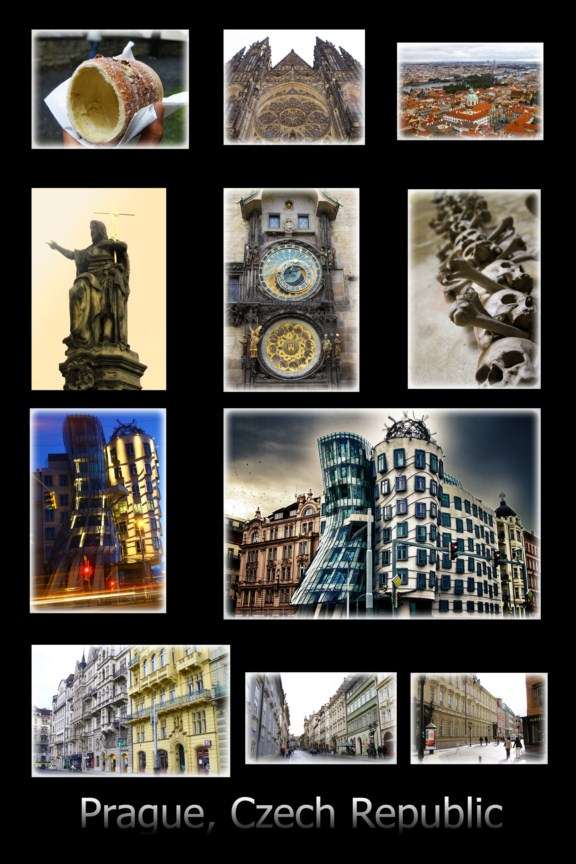
This is a picture of the Dancing House in Prague, Czech Republic, at an increment (I believe) of 1⅓. When I do HDR, I always try to get at least an image in under and over exposure to get as much detail and contrast as I can. As you can see, the first picture is what you will get with a regular camera on a gloomy day (normal exposure), the second picture is an underexposed image that brings out the bright areas such as the clouds, and the third picture does the same for the house. WHen you overlay them with an HDR software, you get the above picture. Small details such as the birds are drawn from the underexposed image while the clean and crisp lines of the house are produced from the overexposed image. It is crucial to realize that the software is not going to do everything for you. I had to do many post-processings to get this effect. The software simply combines the images and produces an exaggerated local contrast HDR, but to get that super fake, high contrast drawing, you will need to do tone-mapping, erase aliasing artifacts, etc.
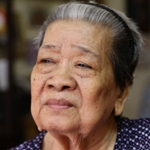
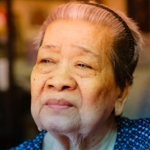
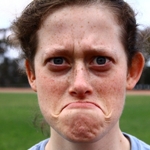
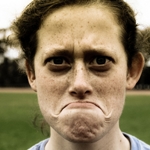
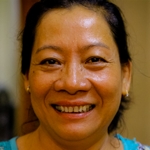
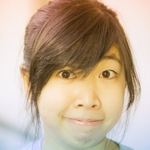
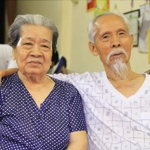
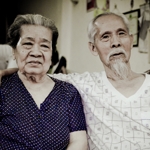
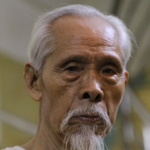
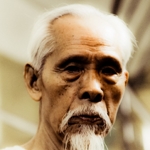
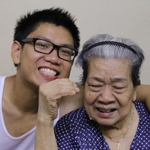
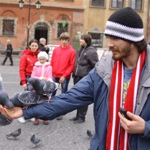
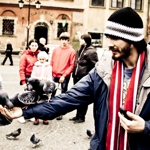
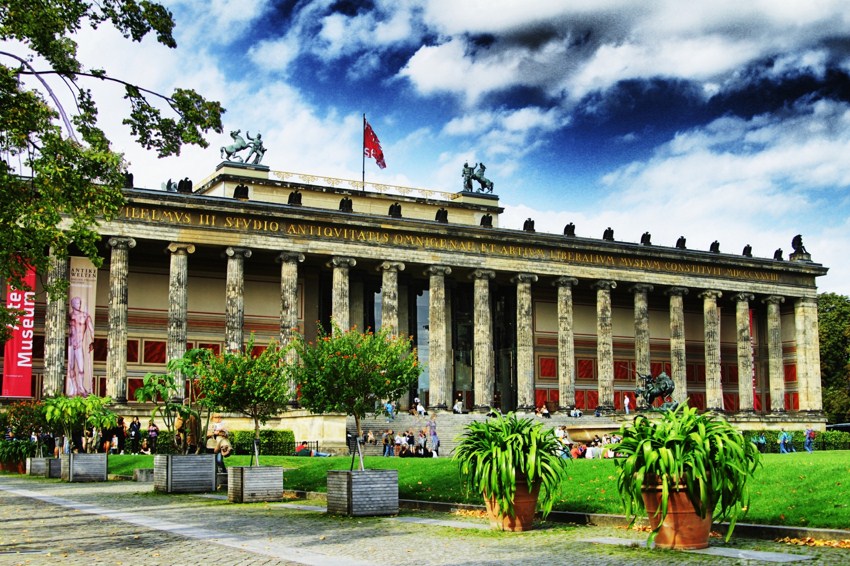
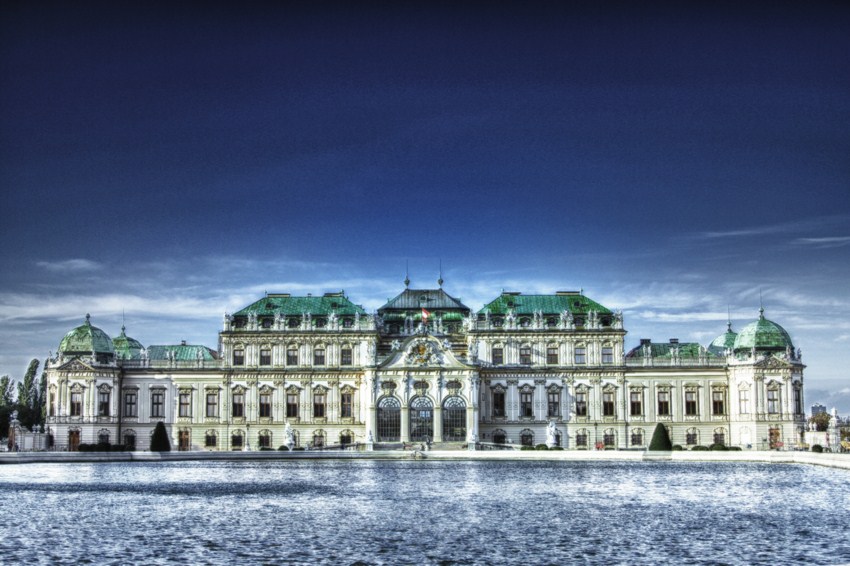
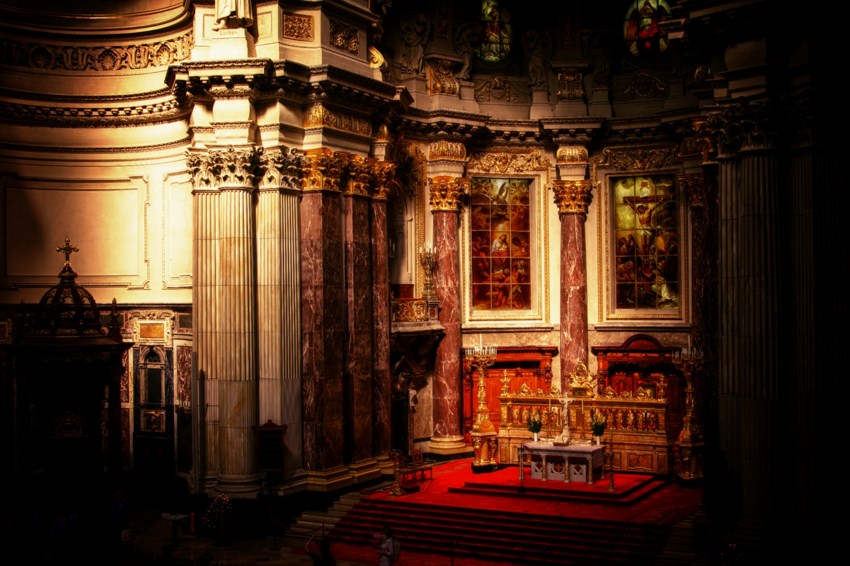
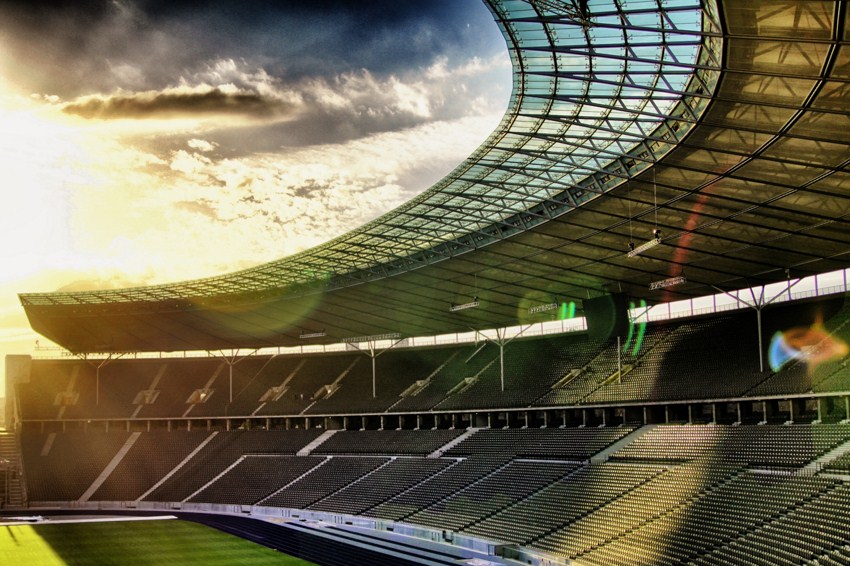
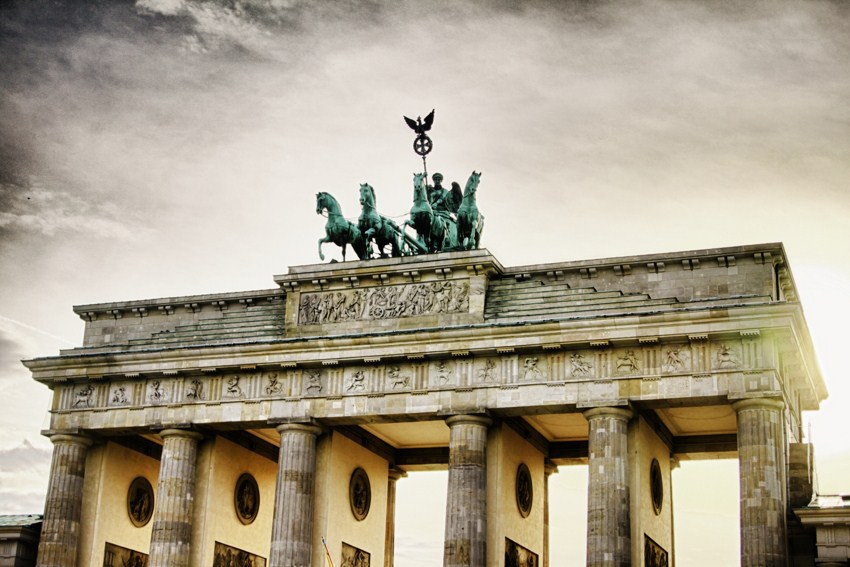
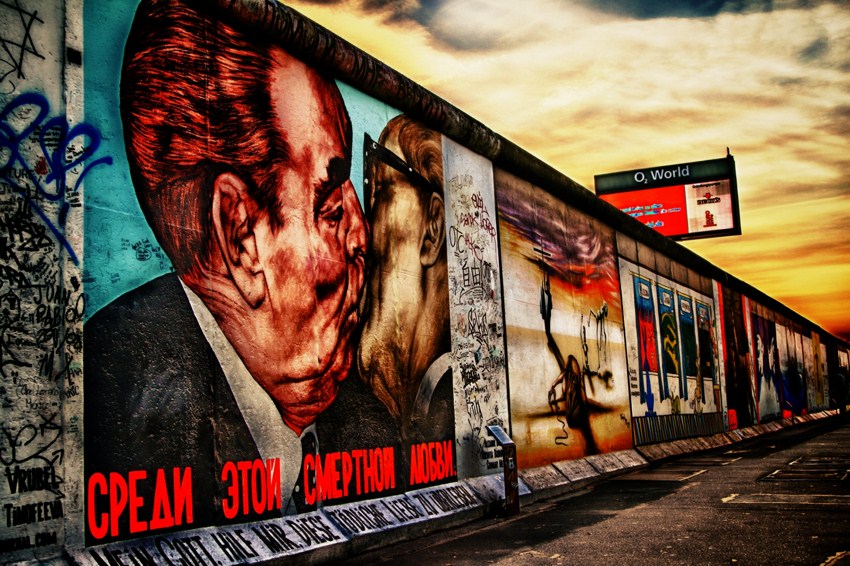
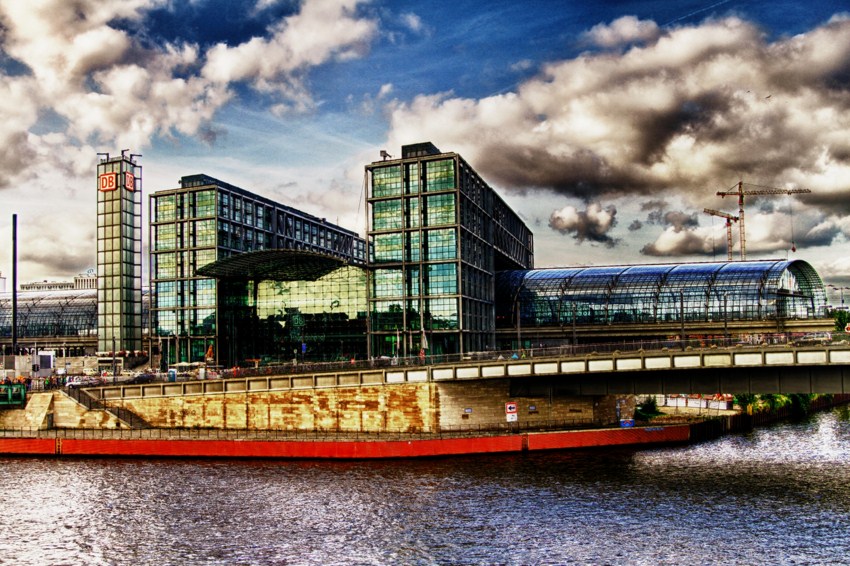
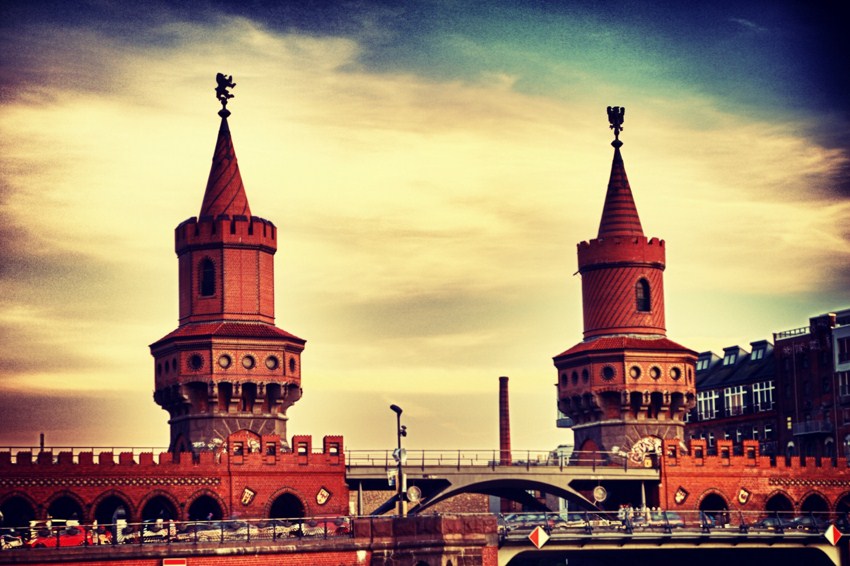
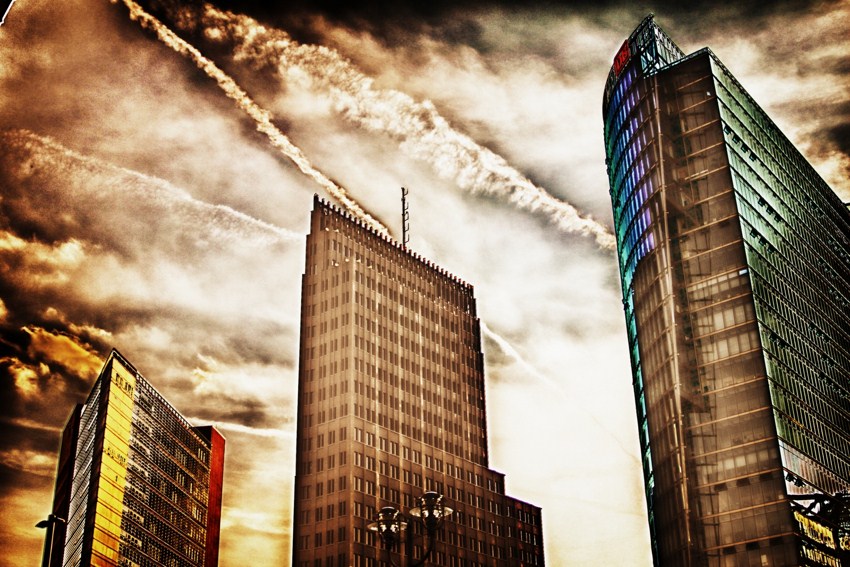
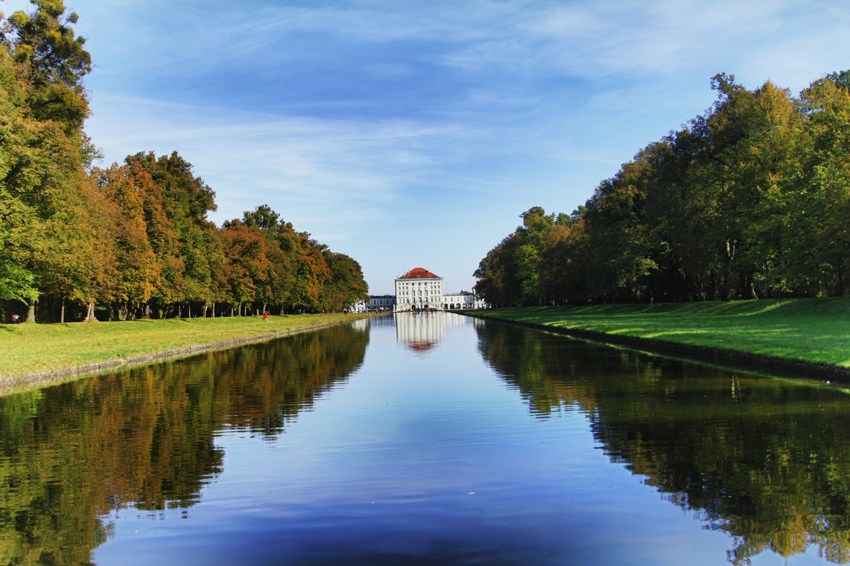
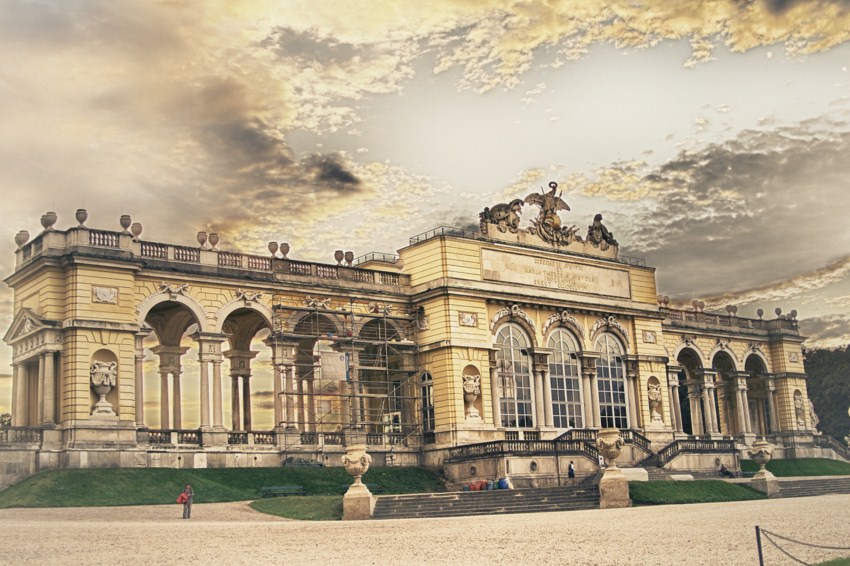
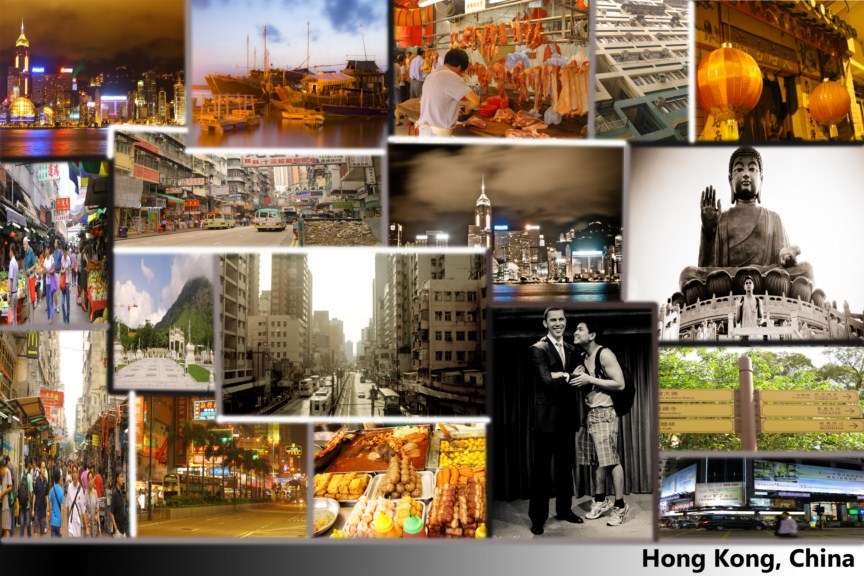
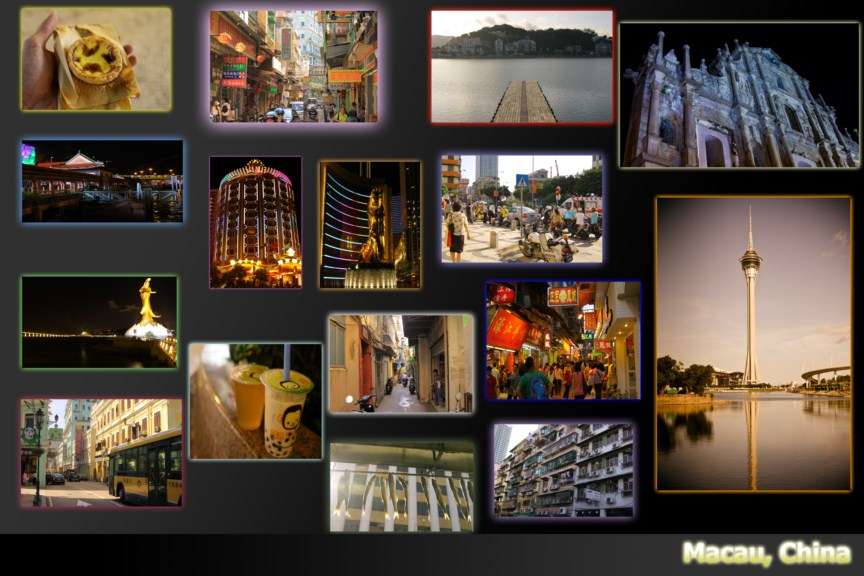
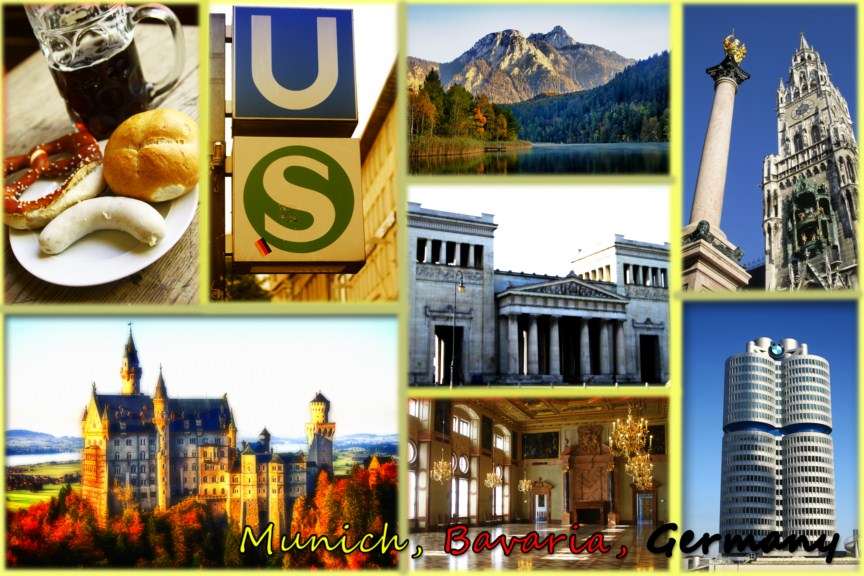
When I travel, I always ask myself when is a good time to take HDR? Setting up the tripod and configurating the camera can take a while and sometimes the HDR's don't come out nicely. The key to HDR is CONTRAST. You want to choose a scene with many differences in colors, lines, structures, details! I knew my Dancing House was going to turn out pretty because I saw that the hovering clouds were very saturated and the house had many details. Another example would be faces of old people! They have so many wrinkles that will make your HDR pop. I have only recently started using this technique so I still have lots to learn! The following pictures were taken during my central Europe trip in 2011.


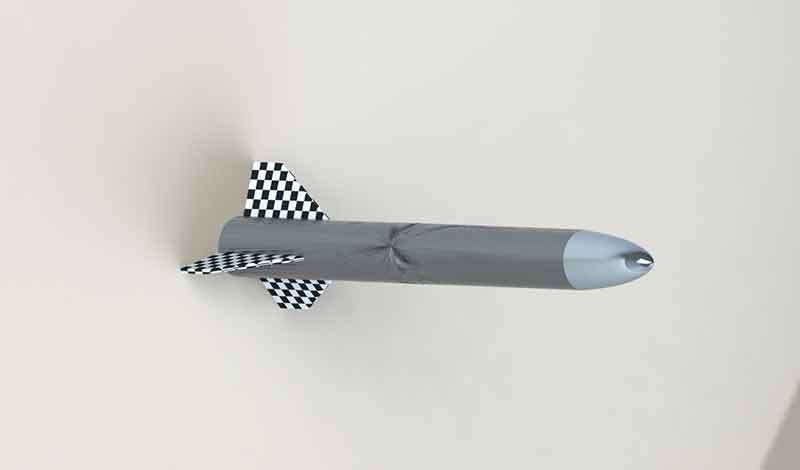
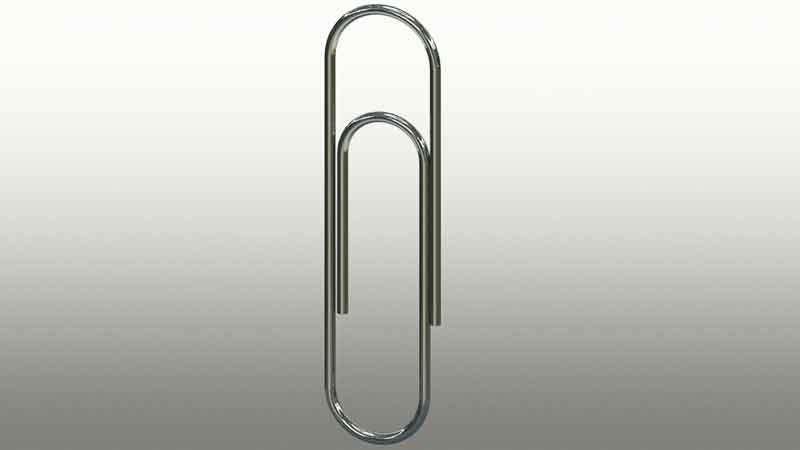
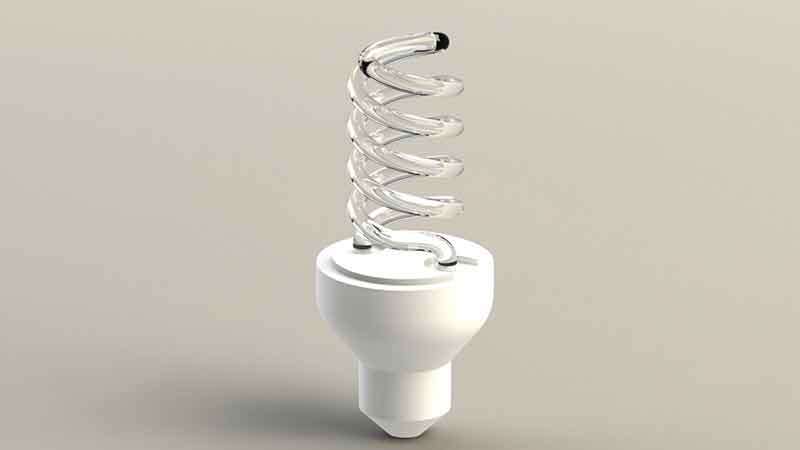
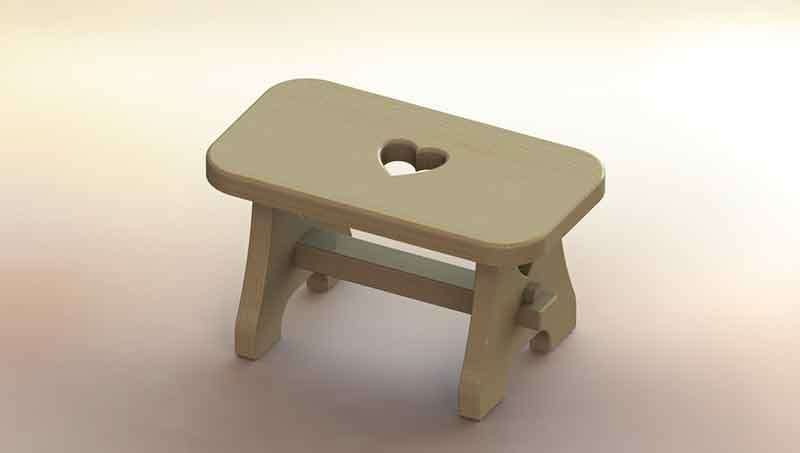
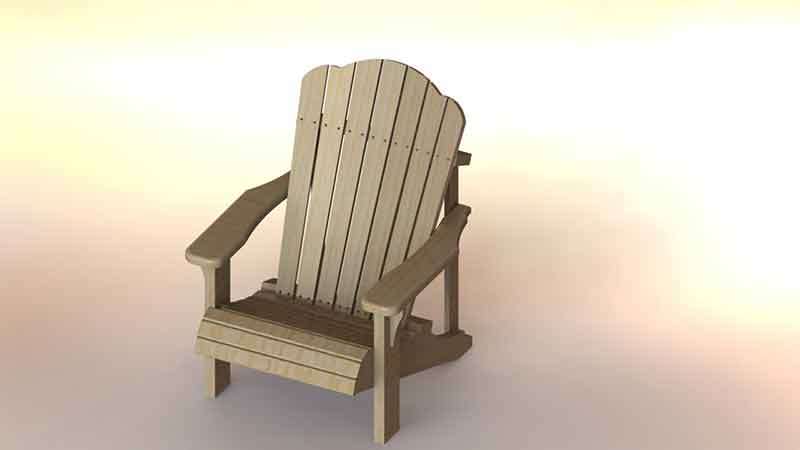
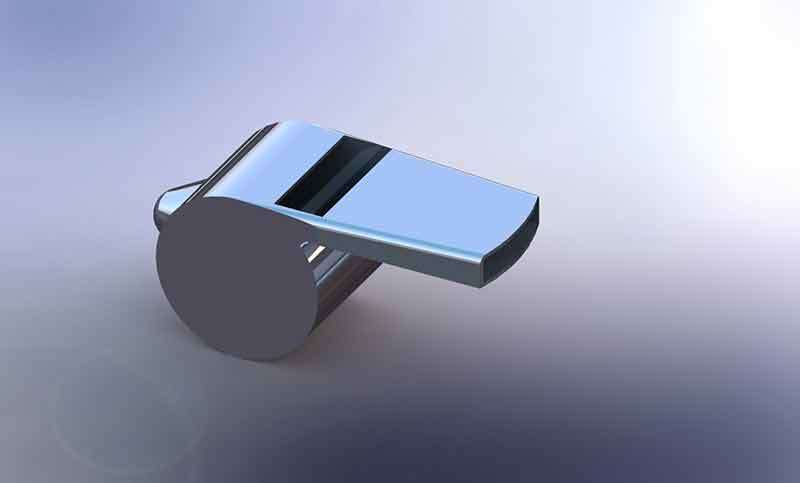
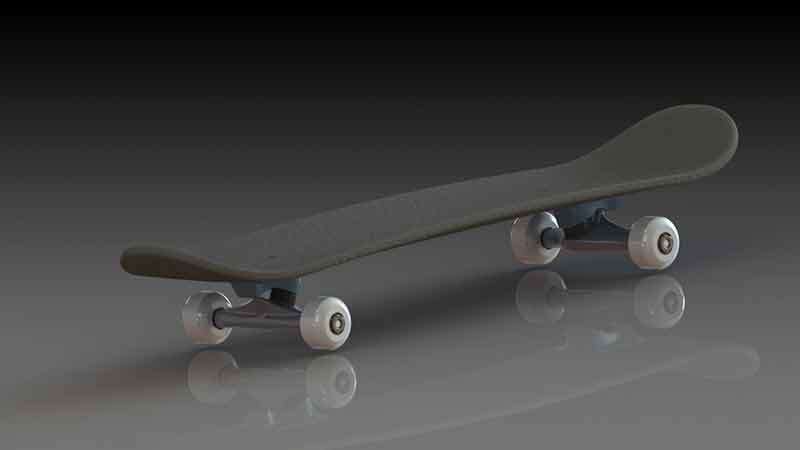
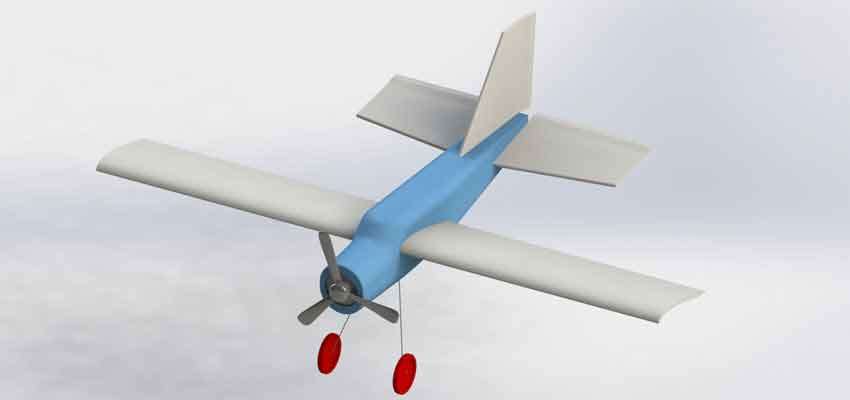
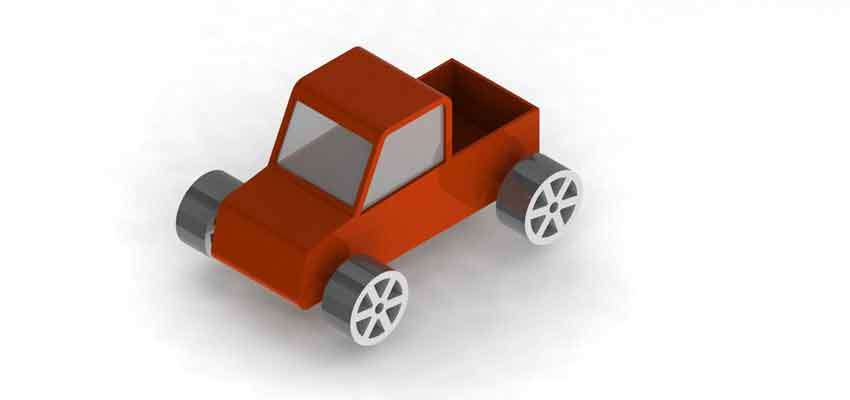
SolidWorks

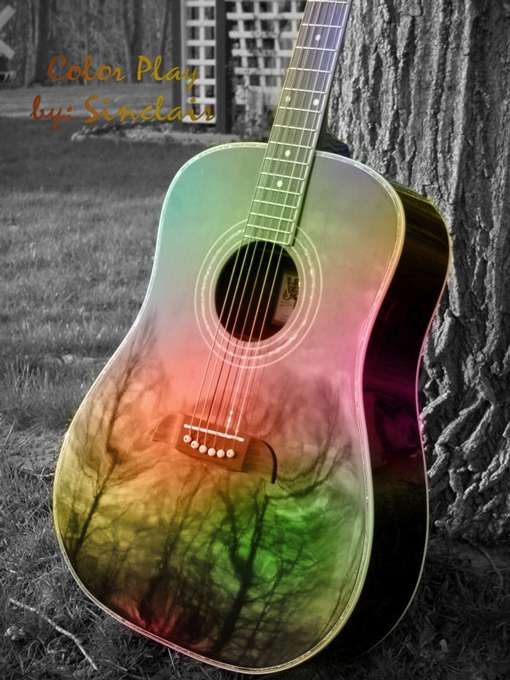
Photoshop

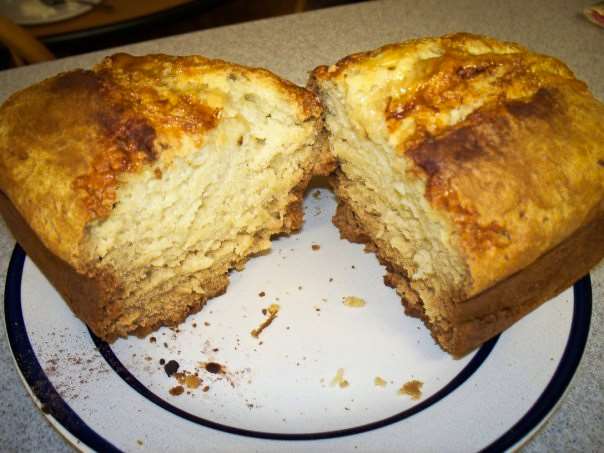
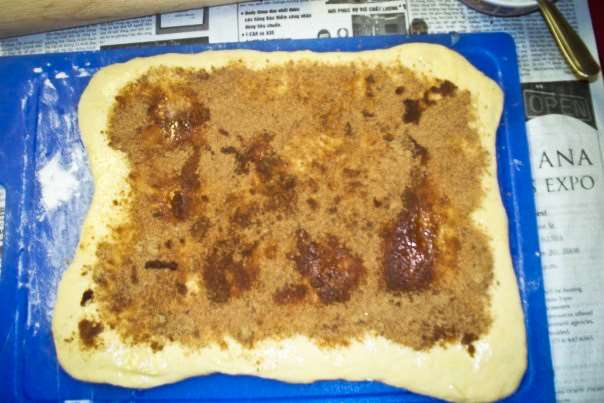
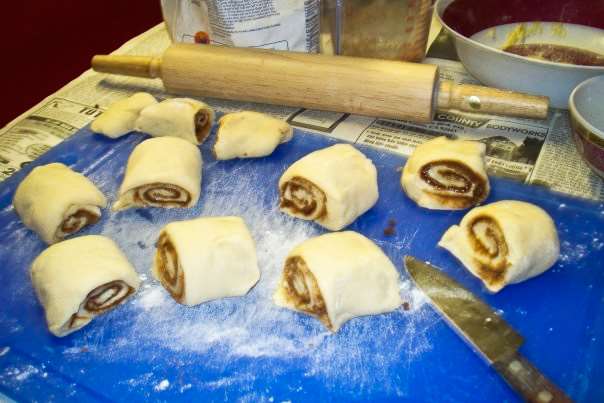
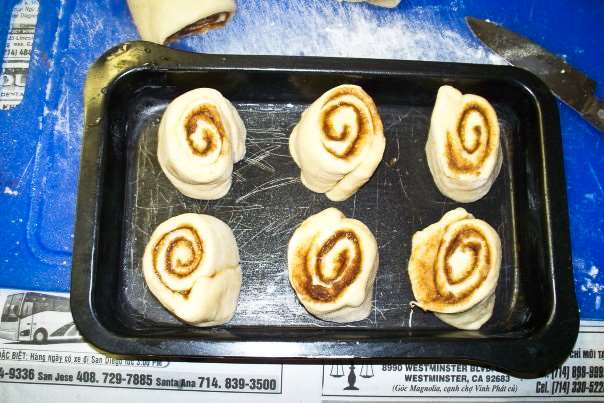
Ingredients for Cinnamon Rolls
4½ cups flour
1 cup milk
½ cup sugar
1 packet dry yeast
2 eggs
⅓ cup melted butter or margarine
¼ cup melted butter
1 tablespoon cinnamon
¾ cup brown sugar

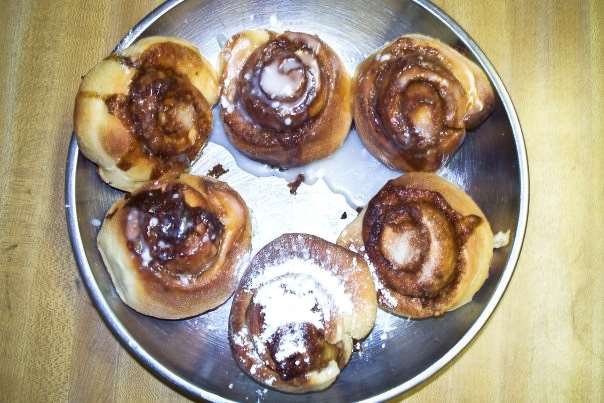
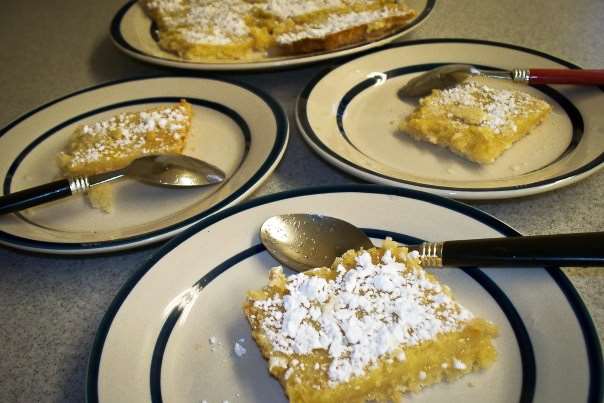
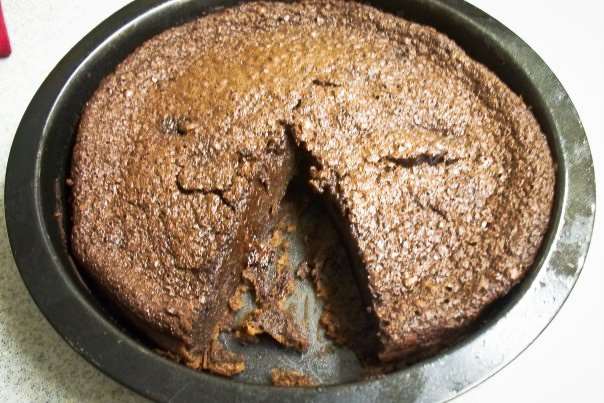
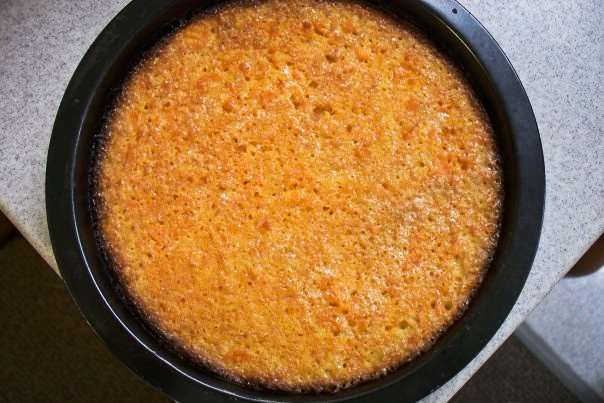
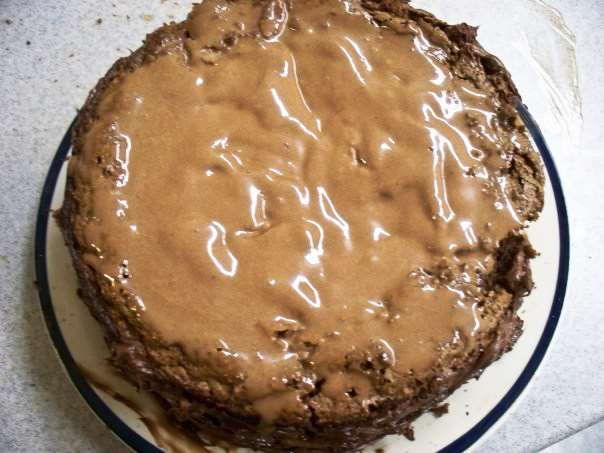
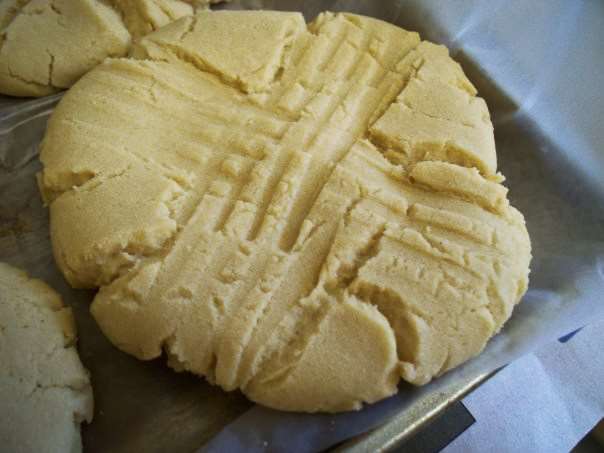
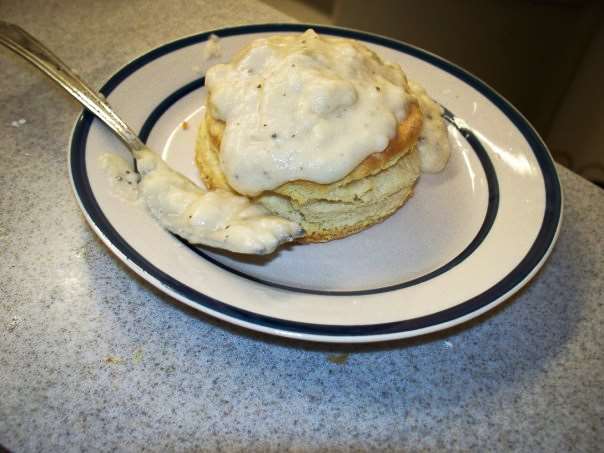
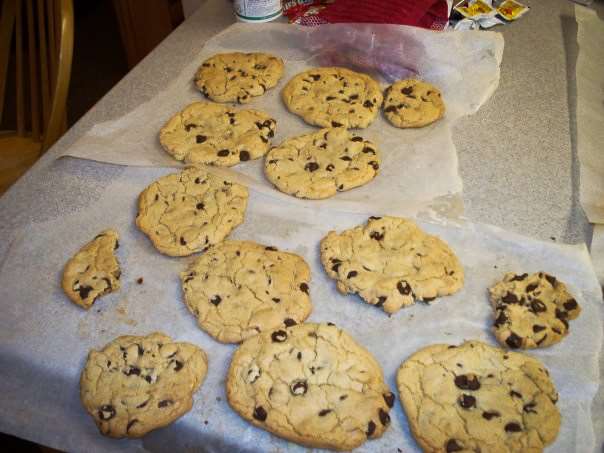
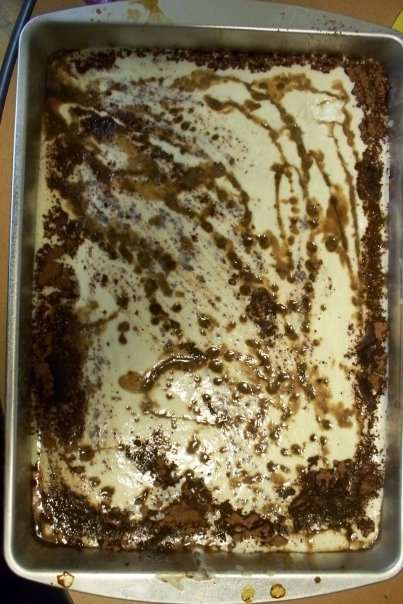
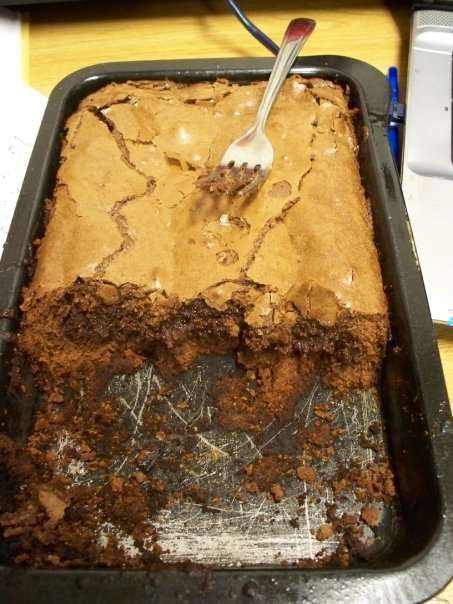
Stressed is Desserts Spelled Backward! Contact Me If You Want Any Recipe